Denon AVR-882 Operations Instructions
Browse online or download Operations Instructions for AV receivers Denon AVR-882. Denon AVR-882 Operating instructions [en] User Manual
- Page / 96
- Table of contents
- BOOKMARKS
- AVR- 1802/882 1
- I"'mA 2
- SAFETY INSTRUCTIONS 3
- TABLE OF CONTENTS 4
- !-_ BEFORE USING 4
- [_ CAUTIONS ON INSTALLATION 5
- !-_ FEATURES 5
- PART NAMES AND FUNCTIONS 6
- '.._._._ 7
- _i_iii¸iii!iii!i!i¸iii!!i 7
- READ THIS FIRST 8
- I Ioo_O_l 9
- AUDIO.......G.... I 11
- I==== .... _ ol O 12
- AM loop antenna assembly 13
- Connecting the speaker cords 14
- SETTING UP THE SYSTEM 17
- :+:SVSTEM SET UF' ] 18
- :2 CENTER SMi:::ii 18
- ' CENTER :L2-i:--i::] 20
- :L:L 0 F:'T2 C[?R ] 21
- _] REMOTE CONTROL UNIT 22
- AUDIO_VlDEO 23
- CD MD/CDR 24
- AUDIOI_VIDEO 24
- _[_] .... _ 25
- ON / STANDBY 25
- V AUX VCR4 VCR-2 TV/UBS 26
- _'p. o 27
- D O _ ..... 1 _ _=_t_ z 27
- oooo&ly 28
- INPUT MODE ANALOG INPUT MODE 29
- I'_ SURROUND 30
- SELECT _ _ SELECT 31
- [......o: I 33
- .....F::E i?.i,:::iB 34
- EFFECT I _,_ULT I _,_ULT 36
- (Remote control unit) 37
- +0,: STE ,+Iow O.OOOVE 38
- _[ -5_' 41
- SHIFT SHIFT 42
- DOWN -- UP 42
- I'_ LAST FUNCTION MEMORY 43
- SURROUND 46
- SPECIFICATIONS 48
- TABLE DES MATIERES 49
- !-_ AVANT L'UTILISATION 49
- !-_ CARACTERISTIQUES 50
- (33 (3D OD (23 52
- A LIRE EN PREMIER 53
- I Ioo_O_1 54
- I--O0T UT--1 55
- AUDIO .... O DiGOUT.... I [ 56
- R OUT L OUT OPTECAL 56
- AUDIO VIDEO DIGITAL 56
- R OUT L OUT COAXIAL 56
- ;APTATEORDANTENNE 58
- IEI3 IT11 59
- INSTALLATION DU SYSTEME 62
- :[ F:RONT _F:i[;i:iEiEi:I 63
- 2 CE:NTEi:R :E;HF:iJ 63
- I\ t' l 65
- 'Eii::::0 i:::i::-:: 66
- :[@ OF:'T:[ '°°v 66
- _] UNITE DE TELECOMMANDE 67
- AUDIOI_ VIDEO 68
- 0 0 0 0 0 71
- CDR / TAPE CDR / TAPE 71
- INPUT MODE 71
- V AUX VCR4 VCR-2 TWUBS 71
- ,'o o 72
- ooooLly 73
- INPUTMODE 74
- "'I E 75
- SELEOT _ _ SELEOT 76
- 6ou& 77
- DVD / VDP 78
- CINEMA EQ 78
- .....F:Ei: i?.id Ei: 79
- E:EF:i:::iUL T :: .-"N 79
- EFFECT I _,_ULT _ULT 81
- (Unit6 de t616commande) 82
- (Unit6 de tel6commande) 82
- (Unite principale) 83
- ECOUTER DE LA RADIO 85
- MEMOIRE DE DERNIERE FONCTION 88
- [_ E_ kX_ ] tr_e_ 89
- DEPISTAGE DES PANNES 92
- I'usine 95
- NIPPON COLUMBIA CO., LTD 96
Summary of Contents
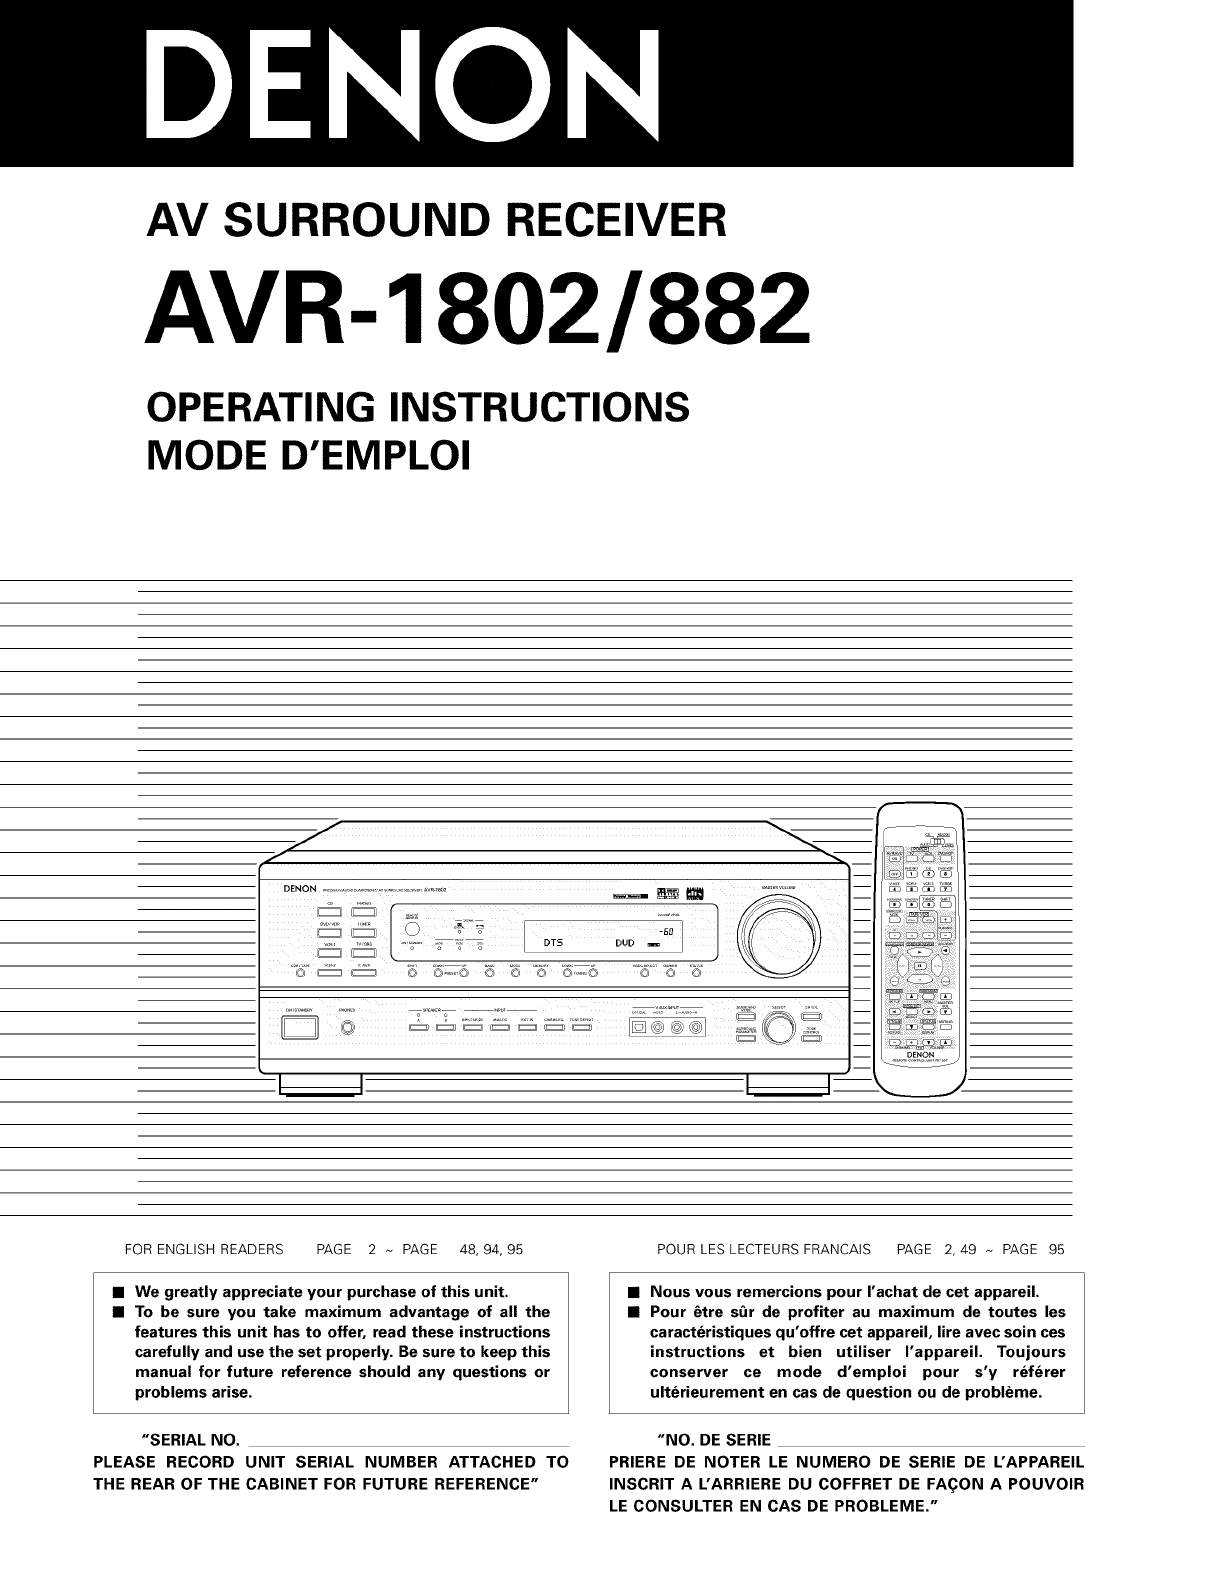
AV SURROUND RECEIVERAVR- 1802/882OPERATING INSTRUCTIONSMODE D'EMPLOII IDENOtFOR ENGLISH READERS PAGE 2 ~ PAGE 48, 94, 95• We greatly appreciate y
To connect the video signal, connect using a 75 _/ohms video signal cable cord. Using an improper cable can result in a drop in sound quality.IConnect
AUDIO VIDEO DIGITALOUTR OUT L OUT OPTECALTV or DBS tunerI Connecting a TV/DBS tuner ITV/DBS• Connect the TV's or DBS tuner's video output ja
• When marking connections, also refer to the operating instructions of the other components.• A note on the S input jacksThe input selectors for the
DIRECTION OFBROADCASTINGSTATION75 _/ohmsCOAXIALCABLE}_FM ANTENNA_ EEDERCABLEFM ANTENNAADAPTER(An Accessory)FM INDOOR ANTENNA(An Accessory)AM LOOPANTEN
• Connect the speaker terminals with the speakers making sure that likepolarities are matched (_) with @, _ with _). Mismatching of polarities willres
This unit is equipped with a high-speed protection circuit. The purpose of this circuit is to protect the speakers undercircumstances such as when the
_'_ USING THE REMOTE CONTROLUNITFollowing the procedure outlined below, insert the batteries before using the remote control unit.30°ApproxPoint
SETTING UP THE SYSTEM• Once all connections with other AV components have been completed as described in "CONNECTIONS" (see pages 9 to 15),
12ON / STANDBY(Main unit)Check that all the components are correct, then press the POWER operation switch on the main unit orthe POWER button on the r
NOTE:• When "Small" has been selected for the front speakers, "Large" cannot be selected for the surround speakers.4Use the I_D (l
• SAFETY PRECAUTIONS_RISK OF ELECTRIC SHOCKI"'mADO NOT OPENCAUTION: TO REDUCE THE RISK OF ELECTRIC SHOCK,DO NOT REMOVE COVER (OR BACK). NOUS
Input the distances from the listening position to the speakers and set the surround delay time.Preparations:Measure the distances from the listening
Input the type of components connected to the digital input terminals.1Use the C_ (left) and _ (right) buttons to set the type of device connected to
_] REMOTE CONTROL UNIT2-5--=a-v AUX VCml vcR.2 wJoBsC_ I3D C_ 123DENON--1DENON remote-controllable audio components can be controlled using this unit&
DENON and other makes of components can be operated by setting the preset memory for your make of video component.This remote control unit can be used
12Set the slide switch to "VIDEO".CD MD/CDRAUDIOI_VIDEOOperate the video component.• For details, refer to the component's operating in
r_l OPERATIONDE_ONc_c_ O o °_[_] ... _o_ ooo-o o o o o o o o1 25@CSD_vA_x VCR4 VCR-2Preparations:Check that all connections are proper.1Turn on the p
121Lg___c_____csp_j_ _-o o o o o oo o or_ 0 _z__L£__--_:___c_J_/253Press the button for the program source to be played.EX 1: CDCD(Main unit)EX 2: CDR
3Select the play mode.Press the SURROUND MODE button, then turn SELECTknob.SURROUND SURROUNDMODE SELECT MODE% o %(Main unit) (Remote control unit)•_ T
[2] Listening over headphonesConnect the headphones to thePHONES jack of the front panel.PHONESPress SPEAKER A or B to turn the SPEAKERspeaker off. OA
1Set the external input (EXT. _'T._N INPUTMODE%%Press the EXT. IN to switchthe external input.(Main unit) (Remote control unit)Once this is selec
1.2.3.4.5.6.6A.7.8.SAFETY INSTRUCTIONSRead Instructions - All the safety and operatinginstructions should be read before the appliance isoperated.Reta
I'_ SURROUND• Before playing with the surround function, be sure to use the test tones to adjust the playback level from each speakers. This adju
12345Select the function to which the component you want to playis connected.EX:DVD / VDP(Main unit)DVD/VDP%(Remote control unit)Select the Dolby Surr
7Set the various surround parameters.• CINEMA EQ settingC i N E H Fi Ei:;:! 0 F FSELECT _ SELECTor C orO• PANORAMA settingF'i:::i['.i0 [;;:i
123Select the input source.I Playback with a digital input I(_ Select an input source set to digital (COAXIAL/OPTICAL)DVD/VDP(Main unit) (Remote contr
57(Remote control unit)Press SURROUND or CE) (down) button to switch to the D.COMR setting.(Remote control unit)%%(Remotecontrolunit)Use _ (left) and
I'_ DSP SURROUND SIMULATION• This unit is equipped with a high performance DSP (Digital Signal Processor) which uses digital signal processing to
• To operate the surround mode and surround parameters from the remote control unit.1Select the surround mode for the input channel.SURROUNDMODE%(Remo
(3) DELAY TIME(Remote control unit)(4) DEFAULT(Remote control unit)Use the _ (left) and _ (right) buttons to set the delay time.(Initial),...-,...,..
• Operating the surround mode and surround parameters from the main unit's panel.1Turn the SELECT knob to select the surround mode.SELECT(Main un
Surround parametersROOM SIZE:This sets the size of the sound field.There are five settings: "small", "med.s" (medium-small), "
• INTRODUCTIONThank you for choosing the DENON A/V Surround receiver. This remarkable component has been engineered to provide superb surround soundli
I'_ LISTENING TO THE RADIOThis unit is equipped with a function for automatically searching for FM broadcast stations and storing them in the pre
Press TUNER to set the input function to "TUNER".TUNER(Main unit)Watching the display, press BAND to select the desired band(AM or FM).BAND%
2 3 14c:_c_ 0 o oo _e [9__9' o o o o0 C::::3E::::3C:::_C::::3[::::_C::::3[::::Do o o303Preparations:Use the "Auto tuning" or "Manu
I'_ LAST FUNCTION MEMORY• This unit is equipped with a last function memory which stores the input and output setting conditions as they were imm
r_ ADDITIONAL INFORMATIONHere we describe a number of speaker settings for different purposes. Use these examples as guides to set up your system acco
• Dolby Digital and Dolby Pro LogicComparison of home surround systemsNo. recorded channels (elements)No. playback channelsPlayback channels (max.)Aud
IDigital Theater Surround (also called simply DTS) is a multi-channel digital signal format developed by Digital Theater Systems.DTS offers the same &
r_ TROUBLESHOOTINGIf a problem should arise,first check the following.1. Are the connections correct ?2. Have you operated the receiver according to t
SPECIFICATIONS• Audio section• Power amplifierRated output:Dynamic power:Output terminals:AnalogLINE input - PRE OUTInput sensitivity / input impedanc
I• INTRODUCTIONNous vous remercions d'avoir choisi I'ampli-tuner AN Surround de DENON.Ce remarquable composant a 6t6 fabriqu6 pour fournir u
[_ CAUTIONS ON INSTALLATIONNoise or disturbance of the picture may be generated if this unit orany other electronic equipment using microprocessors is
I[_ PRECAUTIONS D'INSTALLATIONL'utilisation simultan6e de cet appareil ou d'autres appareils61ectroniques 8 microprocesseur avec un tun
r_ NOMENCLATURE ET FONCTIONS• Pour les d6tails sur les fonctions de ces pi6ces, se reporter aux pages donn6es entre parenth6ses ().DUDO Interrupteur d
• Pour les d6tails sur les fonctions de ces pi6ces, se reporter aux pages donn6es entre parenth6ses ().IEmetteur de signauxde t616commande ...
A LIRE EN PREMIERCe r6cepteur d'ambiance AV dolt 6tre r6g16 avant I'utilisation selon les 6tapes suivantes.[Ensuite, ins6rer les piles dans
r_ CONNEXIONS• Ne pas brancher le cordon d'alimentation avant d'avoir termin6toutes les connexions.• Toujours connecter correctement les can
Pour connecter le signal vid6o, connecter en utilisant un c_ble de signal vid6o de 75 _/ohms. L'utilisation d'un mauvais c_ble peut entraTne
oT616viseur ou tuner DBSAUDIO ... O DiGOUT... I [R OUT L OUT OPTECALAUDIO VIDEO DIGITALOUTR OUT L OUT COAXIAL[ Connexion d'un televiseur/tuner
• Lors des connexions, se reporter 6galement aux instructions d'utilisation des autres composants.• Remarque b propos des prises en SLes s61ecteu
DIRECTION DESTATION DERADtODIFFUSIONCABLECOAXIALDE75 _/ohms}_ANTENNE FM_ ARRWEECable d'arriv6eADAPTATEU RD'ANTENNE FM(Accessoire)Antenne int
• Connecter les bomes d'enceinte aux enceintes en respectant les polarit6s (@au _), _ au _). Si les polarit6s ne sont pas respect6es, un son cent
PART NAMES AND FUNCTIONS• For details on the functions of these parts, refer to the pages given in parentheses ().DUDPower operation switch ...
Cet appareil est 6quip6 d'un circuit de protection haute vitesse. Le but de ce circuit est de prot6ger les enceintes contredes situations telles
I'_ UTILISATION DE LA TI_LI_COMMANDEEn suivant la procedure expliquee ci-dessous, inserer les piles avant d'utiliser la telecommande.30°Appr
INSTALLATION DU SYSTEME• Une fois que toutes les connexions avec les autres composants AV ont 6t6 faites comme indiqu6 dans "CONNEXIONS" (vo
12ON/ STANDBYAVR/AV_V6rifier que tousles composants sont en bon 6tat, puis appuyez sur I'interrupteur de mise en marchePOWER sur I'unit6 pri
REMARQUE:• Lorsque I'option "Small" (petit) a 6t6 s61ectionn6e pour les haut-parleurs avants, I'option "Large" (grand) n
Entrer les distances de la postion d'6coute aux enceintes, et regler le temps de retard d'ambiance.Preparations:Mesurer les distances de la
S61ectionner le type d'appareil connect6 aux bornes de I'entr6e num6rique.1'Eii::::0 i:::i::-::Utiliser les touches (gauche) _ et (droi
_] UNITE DE TELECOMMANDEv Aux vcR.l VCR-2 WJOBS--1Los composants audio t616commandables DENON peuvent 6tre contr616s en utilisant la t616commandede co
DENON et d'autres fabricants de composants peuvent 6tre actionn6s en r6glant la m6moire pr6r6gl6e de votre fabricant de composant vid6o.La t616co
12Placer le commutateur coulissant sur la position "VIDEO".CD MD/CDRAUDIO_VlDEOActionner le composant vid6o.• Pour les d6tails, se reporter
• For details on the functions of these parts, refer to the pages given in parentheses (INPUT MODE button (26, 29)SURROUND MODEbutton ...
r_ OPERATION_E_ONo_ 000%0000 ooo1 2cs_wux VCR4 VCR-2Preparatifs:V6rifier que toutes les connexions sont bonnes.1Allumer I'alimentation.Appuyer I&
121•_o___=_____=p_jo o o o o o]0 0 0 0 0/253Appuyer sur la touche de la source de programme _ reproduire.Exemple 1: CDCDCD(Unit6 principale) (Unit6 de
3S61ectionner le mode de lecture.Appuyez sur le touche SURROUND MODE, puis appuyez lebouton SELECT.SURROUND SURROUNDMODE SELECT MODE(Unite principale)
[2] Ecoute avec casqueConnecter le casque _ la prisePHONES du panneau avant.PHONESAppuyer sur le touche SPEAKER A et B SPEAKERpour 6teindre I'enc
IPasser au mode d'entr6e Fzr.IN INPUTMODEAppuyer sur EXT. IN pourchanger I'entr6e externe.Une fois cette s61ection (Unit6 principale) (Unit6
AMBIANCE• Avant d'effectuer une lecture avec la fonction d'ambiance sonore, s'assurer d'utiliser auparavant les tonalites de test
12345S61ectionner la fonction se rapportant au composant que vousd6sirez 6couter.Exemple:DVD / VDPDVD/VDP(Unit6 principale) (Unite de t616commande)S61
7R6gler les param6trages d'ambiance sonore.• Reglage CINEMA EQC :[ NE HFi EQ 0F::F:: 6ou&• Reglage PANORAMAF::'i:::iN0 F;;:i:::iHi:::i 0
12S61ectionner la source d'entr6e.I Reproduire avec une entr6e num6rique I(_ S61ectionner une source d'entr6e r6gl6e 8 num6rique(COAXIAL/OPT
5(Unit6 de t616commande)Appuyer sur la touche SURROUND ou (bas) C_ pour passer au r6glage D. COMR(Unit6 de t616commande)%%(Unit6 de tel6commande)Utili
READ THIS FIRSTThis AV Surround Receiver must be setup before use. Following these steps.[Next, insert the batteries into the remote control unit.Step
I'_ SIMULATION D'AMBIANCE DSP• Ce appareil est 6quip6 d'un DSP (processeur num6rique de signal) de haute pr6cision qui utilise le trait
• Pour utiliser les modes surround et r6gler leurs param6tres _ I'aide de la t616commande.1S61ectionner le mode d'ambiance pour le canal d&a
(3) DELAY TIME(Unit6 de t616commande)(4) DEFAULT(Unit6 de tel6commande)Utiliser les touches (gauche) I_D et (droit) I:]E) pour r6gler le d61ai.(Initia
• Pour utiliser les modes surround et r6gler leurs param6tres _ partir du panneau de commande de I'unit6 principale.Tourner le bouton SELECT pour
Parametres d'ambianceROOM SIZE (Taille de piece):Ceci r6gle la taille du champ sonore.II y a cinq r6glages: "small" (petit), "med.
ECOUTER DE LA RADIOCet appareil est 6quip6 d'une fonction de recherche automatique d'6missions de radiodiffusion en FM et de leur stockage d
1231R6gler la fonction d'entree 8 "TUNER".TUNER(Unite principale)En regardant I'affichage, appuyer sur la touche BAND (bande)pour
2 3 14c:_c_ 0 o oo _e [9__9' o o o o0 c:::3c:::::?c:::_c::::3[::::_c:::3[::::Do o o303Preparatifs:Utiliser I'op6ration de "Syntonisatio
MEMOIRE DE DERNIERE FONCTION• Cet appareil est 6quip6 d'une m6moire de derni6re fonction qui stocke les conditions des r6glages d'entr6e et
[_ INFORMATIONS SUPPLEMENTAIRESNous d6crivons ici un nombre de r6glages d'enceintes pour diff6rents buts. Utiliser ces exemples pour installer vo
r_ CONNECTIONS• Do not plug in the power cord until all connections have beencompleted.• Be sure to connect the left and right channels properly (left
• Dolby Digital et Dolby Pro LogicComparaison de syst_mes d'ambiance domestiquesNbre. de canaux enregistr6s (616ments)Nbre. de canaux de lectureC
IDigital Theater Surround (6galement appel6 simplement DTS) est un format de signaux num6riques de canaux multiples d6velopp6 par DigitalTheater Syste
DEPISTAGE DES PANNESSi un probleme se produit, verifier d'abord les points suivants:1. Les connexions sont-elles correctes ?2. L'ampli-tuner
ISPECIFICATIONS• Section audio• Amplificateur de puissancePuissance de sortie nominale:Puissance dynamique:Bornes de sortie:Analogique (Analog)Entree
LIST OF PRESET CODES / LISTE DE CODES PRI:!:RI:!:GLI:!:SDVDHitachi 14Onkyo 13, 15, 16Philips 24RCA 23Sony 25Yamaha12,26VDPMagnavox 05Panasonic 03Pione
TeacTelefunkenToshibaW. WHouseYamahaTVAiwaAlbaBell & HowellBlaupunktBrandtBushCraigCurtis MathisDaytronEmersonFirst lineFrabaGoldstarGrundigICEItt
NIPPON COLUMBIA CO., LTD.14-14, AKASAKA 4-CHOME, MINATO-KU, TOKYO 107-8011, JAPANTelephone: (03) 3584-8111Printed in Korea 511 3800 105
Related products and manuals for AV receivers Denon AVR-882
 (60 pages)
 (65 pages)
 (39 pages)
(140 pages)
(39 pages)
(140 pages)
 (74 pages)
© 2020, manymanuals.com. All rights reserved. | 0.868 s |
 Manymanuals.com
 Manymanuals.de
 Manymanuals.fr
 Manymanuals.it
 Manymanuals.pl
 Manymanuals.cz
 Manymanuals.es
 Manymanuals-pt.com
Comments to this Manuals