Denon UD-M31 Operations Instructions Page 26
- Page / 34
- Table of contents
- BOOKMARKS
- MINIDISC RECORDER 1
- NOTE ON USE 2
- CAUTION: 2
- WARNING: 2
- FRONT PANEL 3
- REAR PANEL 3
- FEATURES 4
- CAUTIONS ON HANDLING 4
- PART NAMES AND FUNCTIONS 6
- REMOTE CONTROL UNIT 7
- (1) Inserting the batteries 8
- ABOUT MINIDISCS 9
- NORMAL PLAYBACK 9
- VARIOUS PLAYBACK FUNCTIONS 10
- 1/3 (play/pause) button 11
- Random Playback 12
- Repeat Playback 12
- RECORDING 13
- (2) Digital recording 14
- VARIOUS RECORDING FUNCTIONS 15
- Memory Recording 16
- GROUP FUNCTIONS 17
- 1 11 2,10 18
- 2. Playing groups 19
- (1) Playing One Group 19
- (2) Group Program Play 19
- 5. Cancel a group 20
- 7. Delete a group 20
- Editing functions 21
- [Erasing one track at a time] 21
- (1) Erasing tracks 21
- 1. Editing 21
- [Erasing all tracks] 22
- (2) Dividing tracks 23
- (3) Combining tracks 24
- (4) Moving tracks 24
- (1) Adding disc titles 25
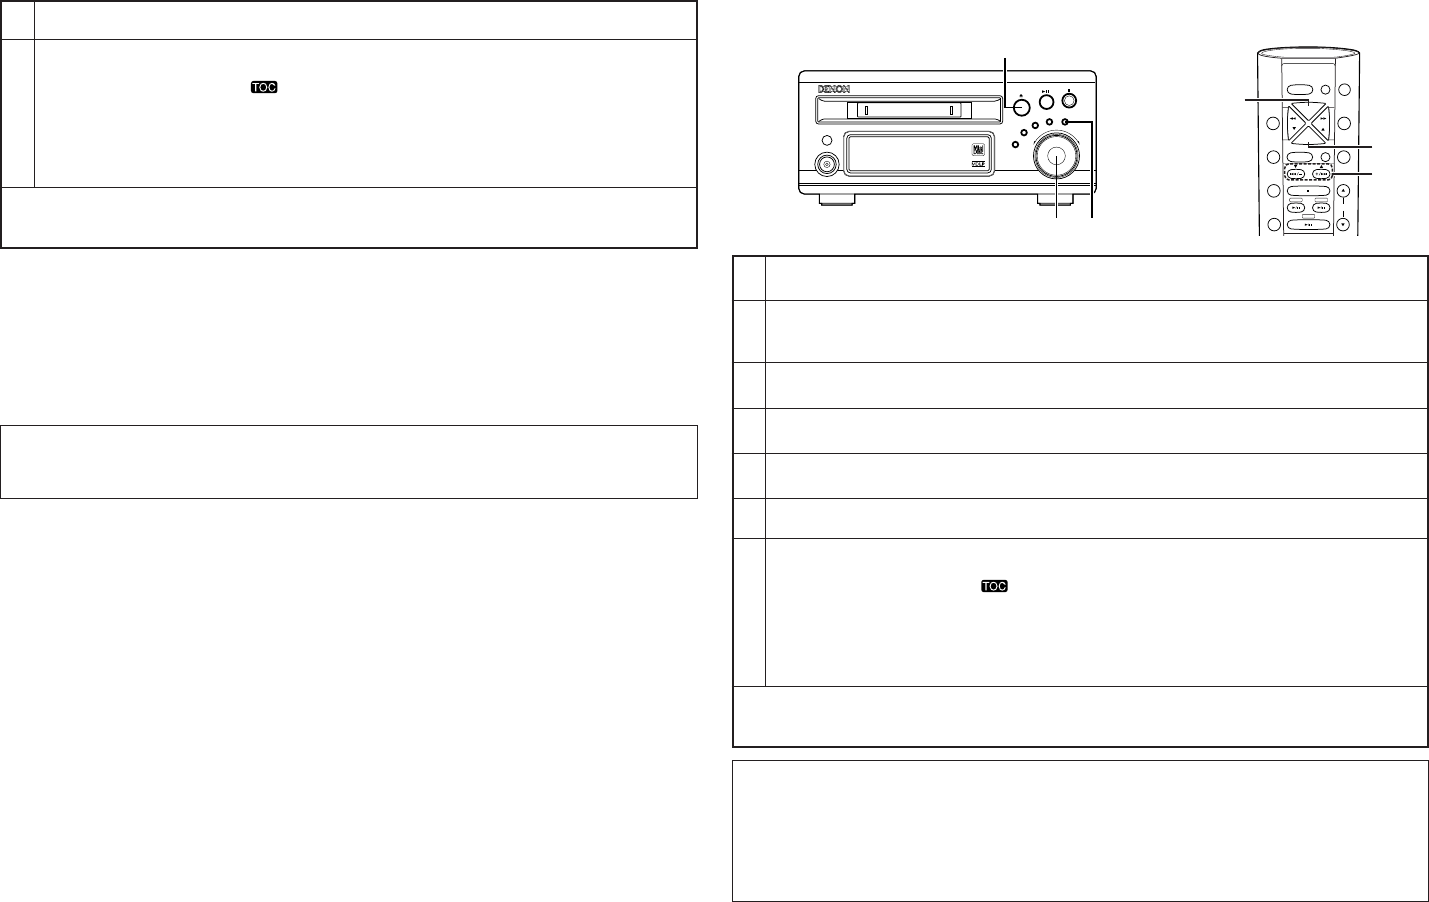
- 1,3,4 2,6 26
- PICK REC function 27
- SYSTEM FUNCTIONS 28
- 18Tr02m 46s 29
- MESSAGES 30
- SYSTEM LIMITATIONS 30
- TROUBLESHOOTING 31
- MAIN SPECIFICATIONS 31
- Telephone: (03) 3837-5321 34
Related products and manuals for Car media receivers Denon UD-M31
 (2 pages)
© 2020, manymanuals.com. All rights reserved. | 0.151 s |
 Manymanuals.com
 Manymanuals.de
 Manymanuals.fr
 Manymanuals.it
 Manymanuals.pl
 Manymanuals.cz
 Manymanuals.es
 Manymanuals-pt.com
Comments to this Manuals