27
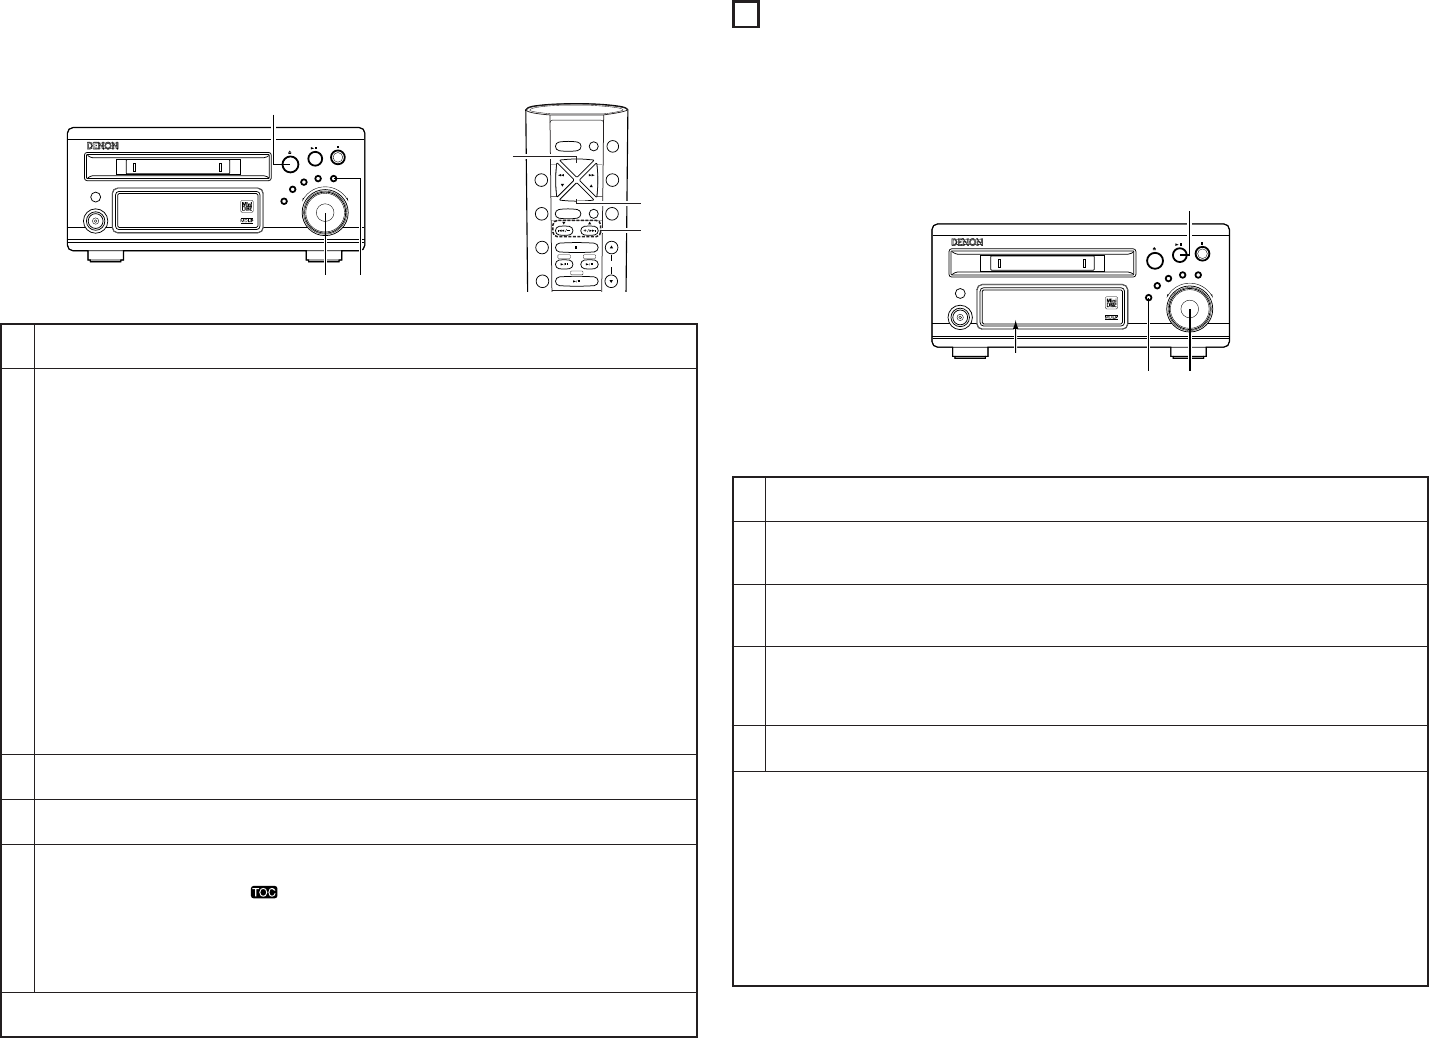
3. Undoing the last editing operation
1
2
3
In the stop mode, press the EDIT button.
•“
Edit Mode
” is displayed.
Either turn the jog dial on the main unit or press one of the automatic search buttons (
8 and 9) on the
remote control unit.
• Display “
Undo?
”.
• One of the following messages appears, depending on the type of editing operation last performed:
✽ When a track or disc title has been input or changed / “
Name Undo?
”
✽ When a track title, disc title, a single track, all tracks or part of a track has been erased
/ “
Erase Undo?
”
✽ When a track has been divided / “
Divide Undo?
”
✽ When tracks have been combined / “
Combine Undo?
”
✽ When the move or program move function has been used / “
Move Undo?
”
✽ When a group has been changed or deleted / “
Group Undo?
”
✽ When the group name was not edited when the group was created
/ “
Group Undo?
”
•“CC
Undo?
” is not displayed if no editing operation has been performed or if the undo operation is not
possible.
• The UNDO function cannot be used in the following cases:
✽ Once the TOC data has been rewritten
✽ Once you have recorded or edited something new
✽ After a power failure
✽ After the UNDO operation has been used once
✽ When a title has been input in a mode other than the stop mode
✽ When the disc recovery function has been used
Press the ENTER button.
•“
Undo OK?
” is displayed.
• With this function you can undo the editing operation last performed and reset the settings to as they were one step
before that point. This comes in handy if you make a mistake when editing.
5
Press the 5 (eject) button on the main unit.
• The TOC data is written and the disc is ejected.
• When TOC writing starts, the “” indicator flashes. Do not shake the main unit or unplug the power
supply cord while the TOC is being written. If the data is not recorded properly, it will not be possible to play
the disc.
• The TOC data can also be recorded by performing the following operations:
• Pressing the power button to set the power to the standby mode.
• Pressing the
2 (stop) button in the stop mode.
• To set back to the previous setting, press the CLEAR button.
• To cancel the undo operation, press the
2 (stop) or CLEAR button before step 4.
4
Press the ENTER button to clear the editing.
•“
Complete
” is displayed.
(Main unit) (Remote control unit)
14
PICK REC function
• PICK REC is a function you can pick only the pieces of audio program you want to store on the disc, while listening to
audio programs, since the PICK REC recording starts. If you operate before the TOC writing, you can store also all the
audio programs during the PICK REC recording.
• The time for which PICK REC recording is possible is the remaining recordable time on the disc.
1. Starting the PICK REC function
1
2
3
4
5
✽ Perform steps 1 to 6 under “(1) Analog recording” on pages 13, 14. (For digital recording, perform steps 1 to 6 under
“(2) Digital recording” on page 14.)
Press the MULTI REC button twice.
•“
Pick Rec
” is displayed and the PICK REC indicator flashes.
Use the jog dial to adjust the recording level.
• Adjust the REC LEVEL control so that the “OVER” indicator does not light even when the volume is loudest.
After adjusting, set the source to be recorded to the standby mode.
Press the
1/3 (play/pause) button.
• The PICK REC indicator lights.
• The PICK REC operation starts and the time for which PICK REC recording is possible is displayed.
To record the track during the PICK REC mode, press the ENTER button before the end of the track is reached.
• The PICK REC indicator flashes and that track is recorded.
• When the track number changes, the PICK REC indicator stops flashing, remaining lit, and the new track is
not recorded.
If you do not wish to record that track, do not perform any operation.
• Tracks at which the PICK REC indicator is lit are not recorded.
• When the operation in step 1 is performed in the middle of a track, it is not possible to record that track from the
beginning.
• During the PICK REC operation, the track number may change in the middle of the piece of music. Perform the
operation in step 4 for all the tracks you want to record.
• To cancel recording after performing the operation in step 4, press the ENTER button again before the track
number changes. The PICK REC indicator stops flashing, remaining lit, and that track is not recorded.
• During the PICK REC operation, check the time for which PICK REC recording is possible on the display. (Pay
attention to the amount of time remaining.)
• The stop mode is set automatically once the time for which PICK REC recording is possible is up. Finish writing
the data on the disc using the procedure described in “2. Stopping the PICK REC function” on page 28.
• Recording cannot be selected if the track number reaches above 35 after the PICK REC operation is started, even
if there is still time remaining. (The PICK REC indicator flashes twice.)
 (2 pages)
 Manymanuals.com
 Manymanuals.de
 Manymanuals.fr
 Manymanuals.it
 Manymanuals.pl
 Manymanuals.cz
 Manymanuals.es
 Manymanuals-pt.com
Comments to this Manuals