Denon AVR-3600 User Manual
Browse online or download User Manual for Home Theater Systems Denon AVR-3600. Denon AVR-3600 User Manual
- Page / 36
- Table of contents
- BOOKMARKS
- AVR-3600 1
- ÍÁIÍTI0N 2
- SAFETY INSTRUCTIONS 3
- [Tj NOTE ON USE 4
- 2 BEFORE USING 5
- 5 COfSINECTIOIMS 6
- TV or DBS tuner 7
- Connecting a TV / DBS tuner 8
- MONITOR OUT 8
- CENTER SPEAKER SYSTEM 10
- FRONT SPEAKER SYSTEMS 10
- SURROUND SPEAKER SYSTEMS 10
- (screen 3 ) 12
- 6-3 Setting the delay time 12
- {screen 4) 12
- (screen 5 ) 12
- 13
- 6-5 Digital input setup 14
- CURSOR CURSOR 15
- Auto tuner presets 16
- SYSTEM SETUP DEFAULT VALUE 17
- I® Jo G3 CD 18
- 7“2 Preset memory 19
- CD DECK OAT 20
- AVWAVC VIDEO 20
- VDPVCR TV 20
- AVRTAVC VIDEO 21
- ON/STAN08Y 22
- ■ lights 22
- -Light off 23
- 8ASS TRESLE 24
- STEREO TUNED^ 25
- STEREO TUNEO 25
- SYSTEM CALLC 26
- SYSTEM CALLS 26
- T ypLUM-E *■ _ OiSC giilf-» 26
- L K C. SL, SR and SW 27
- ( screen 23 ) 28
- CURSOR ev 29
- DSP surround simulation 30
- MONO 5CH STEREO MODE 31
- A CURSOR CURSOR 31
- LISTENING TO THE RADIO 32
- Tuner Preset Stations 33
- ( screen 28 ) 33
- CURSOR(CURSOR 34
- MIPFOM COLUMBIA CO, LTD 36
Summary of Contents
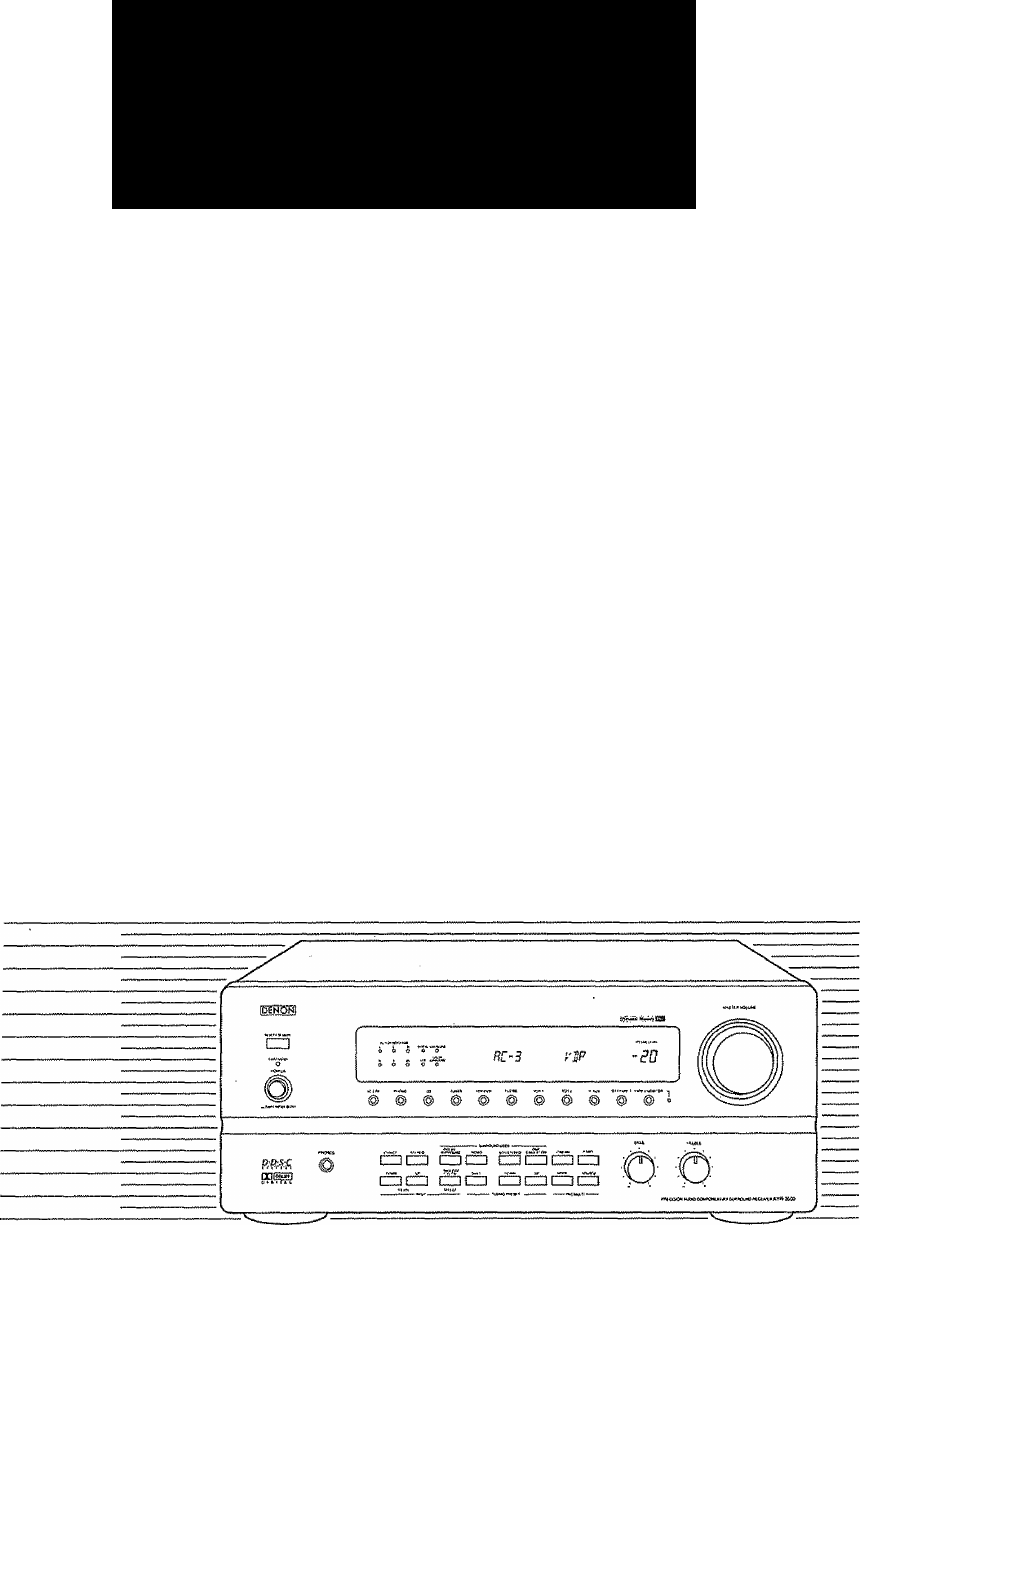
DEMONAV SURROUND RECEIVERAVR-3600OPERATING INSTRUCTIONSQ S> 0 O ^ [O gS'Tdì©,'S’ o S AWe greatly appreciate your purchase of the AVR-3
& About bt-wiringSf your speakers bave bi-wiring terminais, you can achieve higher quality sound by adding cords and using bi-wir
d] SYSTEM SETUPAfter connections with other components have been made, make the various settings on the monitor using this unit'
6-2 Setting the speaker configuration1. Use the CURSOR buttons to specify "Speaker Configuration" from the "System Setup Menu" scr
4. Use the CURSOR buttons to input the listening position and the distance of the different speakers, {screen 6-A)To select the speakers:CU^R fvTo se
5. a. If the "Auto''mode is selected:ACURSOR Pv( screen 9 )b. if the "Manual" mode is selected:Use the cursor buttons to
Select "Default" to return to the initial settings.The initial settings are set as shown on Table 6”5,4. After the above settings are comple
6-7 Auto tuner presetsUse this to automaticalSy search for FM broadcasts and store up to 40 stations at preset channels A1 to 8, B1 to 8, C1 to 8
6-8 On Screen Display"ON" or "OFF" can be selected for functions other than the ones on the nnenu screen.1. Use the CURSOR button
0 REMOTE CONTROL UNITFollowing the procedure outlined below, insert the batteries before using the remote control unîtM Range of operation of the remo
7“2 Preset memoryDENON and other makes of components can be operated by setting the preset memory for your make of video component. Operation i
SAFETY FRECAÜTIOIMSÍÁIÍTI0NBISK OF ELECTBiC SHOCK DO WOT OFEWACAUTION: TO REDUCE THE RISK OF ELECTRIC SHOCK DO NOT REMOVE COVER (OR BACK). NO
"TV"BCHSELgCTCDCDCH VOL-CH VOL-A(CH SELECT)(CH VOL.)(CH VOL.)DENON——(D (PHONO}HITACHI AHITACHI B(3)(CD)MITSUBISHI AMITSUBISHI B MITSUBISHI C
7“4 Remote control unit learning functionIf your AV components are not Denon products or if operation is not possible with the preset memory settings,
7“5 Clearing "learned" remote control signals and the preset memory settings1. Press the USE/LEARN selector button with the tip of a pen, et
8-2 Playing the analog program source {Stereo playback)1. Press the button for the program source to be played.® ® L@ì(0 d) ® ®__ WJM: \ *'(E3.
8-4 Adjusting the TONE control1. Adjustthe BASS and TREBLE.8ASS TRESLETurn the control clockwise to increase the bass or treble, counterclockwise t
8-11 Multi-source REC OUT recording / playbackWhile listening to or watching the currently playing program source, you can record another program
Ш Multi-source and multi-zone playbackMULTI ROOM MUSIC ENTERTAINMENT SYSTEMe When the outputs of the MULTI SOURCE AUDIO/VIDEO OUT terminals
2. DOLBY DIGITAL AC-3When you connect an ID player with an AC~3 RF output and play laserdiscs with the mark, you can experience improved soundAC&apo
9-3 Using the Dolby Surround Pro Logic mode1, Set the Dolby Surround mode.MODEDOLBYSURROUNDLightsConventional program sources will automatically
NOTES:In the "VDP AUTO" mode, when an LD with the Dolby Digital AC~3 audio is detected, the decoder switches automatically and
SAFETY INSTRUCTIONS1. Read Instructions - All the safety and operating instructions should be read before the appliance is operated.2. Retain
® Surround parametersCINEMA ... Use "CINEMA equalizer" if dialogue audio truck sound scratchy when playing movie softwa
9-6 Using the DSP surround simulation1. Select the surround mode according to the input source.MONO 5CH STEREO MODEThe surround mode switches in
Surround modes and parametersMODSOUTPUT CHANNEL PARAMETER SOURCE ÌDsfauìt)Whon playing AC-3 dinaFRONT L/RCENTER SURROUNDSUBWOOFERCINEMAROOM SIZE EFFEC
10”3 Preset memory1. Use the "Auto tuning" or "Manual tuning" operation to tune in the station to be preset in the memory.2. Press
10-6 Recalling preset stations with the on screen display1. Press the ENTER button and call out the "Menu" screen from the on screen display
ïi TROUBLESHOOTINGIf 3 problem should arise, first check the following:1. Are the connections correct?2. Have you operated the receiver according to
14 SPECIFICATIONS« Audio section (Power amplifier)Rated output:(All properties shown are only for the power amplifier stage.)Dynamic power: Outpu
TNote on Use ... 42.Before Using ...
2 BEFORE USINGPay attention to the foMowing before using this unit:9 Moving the setTo prevent short circuits or damaged wires in the connection cords,
5 COfSINECTIOIMS® Do not plug in the power cord until all connections have been completed.® Be sure to connect the left and right channels properly (l
5-2 Connecting the video equipmentsTo connect the video signal, connect using a 75 Q/ohms video signal cable cord. Using an improper cable can result
5-3 Connecting the S-vIdeo terminalsLD player, (VDP)Monitor TVr"r“r“f~i— osiiìicsesiijaeiaVideo deck 1Connecting a TV / DBS tunerO1 C-2-, ...
5-5 Speaker system connections» Connect the speaker terminals with the speakers making sore that like polarities are matched {© with ©, © with © ). M
© 2020, manymanuals.com. All rights reserved. | 0.415 s |
 Manymanuals.com
 Manymanuals.de
 Manymanuals.fr
 Manymanuals.it
 Manymanuals.pl
 Manymanuals.cz
 Manymanuals.es
 Manymanuals-pt.com
Comments to this Manuals