Denon AVR-682 User Manual
Browse online or download User Manual for Receivers and Amplifiers Denon AVR-682. Denon AVR-682 Manuel d'utilisation
- Page / 94
- Table of contents
- TROUBLESHOOTING
- BOOKMARKS
- AVR-1602/682 1
- WARNING: 2
- ATTENTION 2
- SAFETY INSTRUCTIONS 3
- TABLE OF CONTENTS 4
- BEFORE USING 4
- 0.3 ft (10 cm) or more 5
- PART NAMES AND FUNCTIONS 6
- Remote control unit 7
- Step 3 (page 16 to 20) 8
- Step 2 (page 15) 8
- Step 1 (page 8 to 14) 8
- CONNECTIONS 9
- Connecting a TV/DBS tuner 10
- Connecting a video decks 10
- 3. Return the lever 12
- Speaker system connections 13
- Protector circuit 14
- Note on speaker impedance 14
- USING THE REMOTE CONTROL UNIT 15
- Inserting the batteries 15
- SETTING UP THE SYSTEM 16
- *SYSTEM SET UP 17
- 1 FRONT LARGE 17
- 2 CENTER SMALL 17
- 3 SURR. SMALL 17
- 4 S.WOOFER YES 18
- Setting the SUBWOOFER MODE 18
- 5 SW MODE NORM 18
- 6 FRNT/SW 12ft 19
- 7 CENTER 12ft 19
- 8 SURR. 10ft 19
- Digital input setup 20
- 9 COAX DVD 20
- 10 OPT TV 20
- After setting up the system 20
- REMOTE CONTROL UNIT 21
- OPERATION 24
- Playing the input source 25
- After starting playback 26
- (Main unit) 27
- (Remote control unit) 27
- Simultaneous recording 28
- SURROUND 29
- Dolby Surround Pro Logic 30
- II Mode: 31
- CINEMA EQ OFF 32
- D.COMP. OFF 33
- LFE 0dB 33
- DEFAULT Y/N 33
- DSP SURROUND SIMULATION 34
- ROOM SIZE MED 35
- EFFECT LEVEL 10 35
- DELAY 30ms 36
- DEFAULT Y/N 36
- LISTENING TO THE RADIO 39
- Auto tuning 40
- Manual tuning 40
- Preset stations 41
- Recalling preset stations 41
- LAST FUNCTION MEMORY 42
- ADDITIONAL INFORMATION 43
- DTS Digital Surround 45
- TROUBLESHOOTING 46
- SPECIFICATIONS 47
- TABLE DES MATIERES 48
- AVANT L‘UTILISATION 48
- FRANCAIS 49
- NOMENCLATURE ET FONCTIONS 50
- Unité de télécommande 51
- Etape 3 (page 60 à 64) 52
- Etape 2 (page 59) 52
- Etape 1 (page 52 à 58) 52
- CONNEXIONS 53
- Circuit de protection 58
- Insertion des piles 59
- INSTALLATION DU SYSTEME 60
- UNITE DE TELECOMMANDE 65
- Après le début de la lecture 70
- AMBIANCE 73
- 2, 5, 74, 61 2 74
- 4, 5, 6, 7 74
- SIMULATION D’AMBIANCE DSP 78
- (Unité de télécommande) 80
- (Unité principale) 81
- ECOUTER DE LA RADIO 83
- Syntonisation automatique 84
- Syntonisation manuelle 84
- Stations préréglée 85
- Rappel de stations préréglées 85
- MEMOIRE DE DERNIERE FONCTION 86
- INFORMATIONS SUPPLEMENTAIRES 87
- DEPISTAGE DES PANNES 90
- ENGLISH FRANCAIS 92
- ENGLISHFRANCAIS 93
- Telephone: (03) 3584-8111 94
Summary of Contents
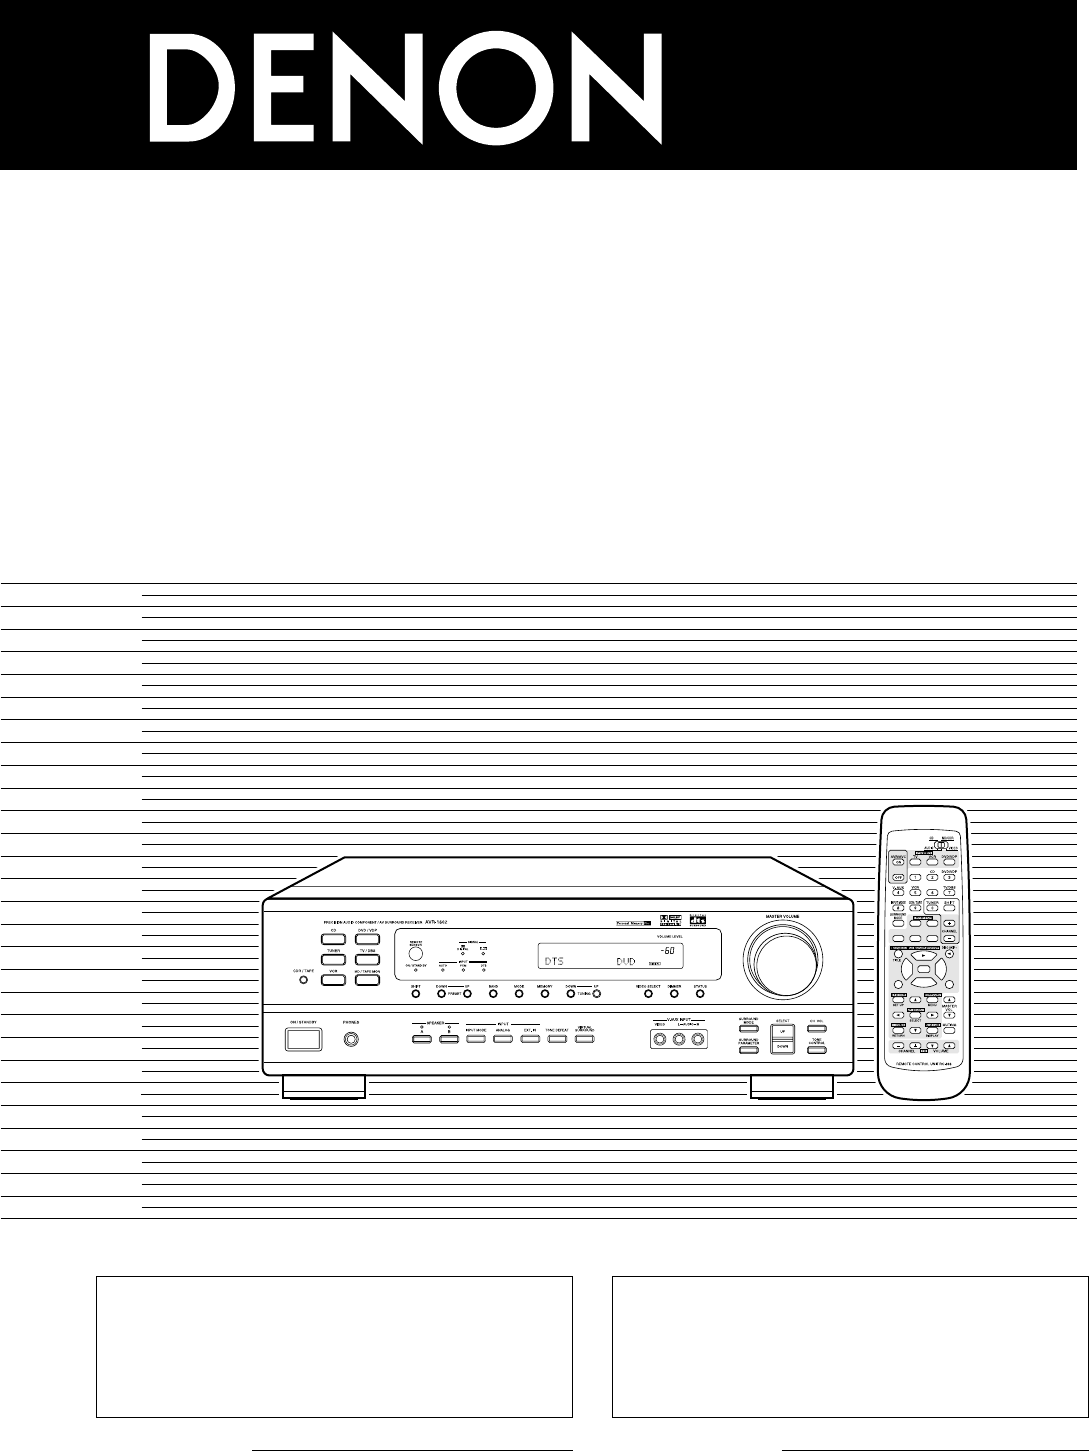
AV SURROUND RECEIVERAVR-1602/682OPERATING INSTRUCTIONSMODE D’EMPLOIB300267982367B2We greatly appreciate your purchase of this unit.2To be sure you tak
10ENGLISHConnecting the video equipmentsTo connect the video signal, connect using a 75 Ω/ohms video signal cable cord. Using an improper cable can re
11ENGLISHConnecting a video component equipped with S-video jacks• When marking connections, also refer to the operating instructions of the other com
12ENGLISH1423Connecting the antenna terminalsPRE OUTSUBWOOFERDVD/VDPDVD/VDPTV/DBSTV/DBSCDR/TAPECDR/TAPEVCRVCRVCRVCRMONITORININ INOUTOUT OUTCOAXIALOPTI
13ENGLISHSpeaker system connections• Connect the speaker terminals with the speakers making sure that likepolarities are matched (< with <, >
14ENGLISHProtector circuit• This unit is equipped with a high-speed protection circuit. The purpose of this circuit is to protect the speakers underci
15ENGLISH9USING THE REMOTE CONTROL UNITFollowing the procedure outlined below, insert the batteries before using the remote control unit.Range of oper
16ENGLISH10SETTING UP THE SYSTEM• Once all connections with other AV components have been completed as described in “CONNECTIONS” (see pages 9 to 14),
17ENGLISHBefore setting up the system12Press the SYSTEM button to enter the setting.Check that all the components are correct, then press the POWER op
18ENGLISHNOTE:• When “Small” has been selected for the front speakers, “Large” cannot be selected for the surround speakers.4Use the (left) and (rig
19ENGLISHSetting the speaker distanceInput the distances from the listening position to the speakers and set the surround delay time.Preparations:Meas
2ENGLISH2 SAFETY PRECAUTIONS2 NOTE ON USE / OBSERVATIONS RELATIVES A L’UTILISATION• Avoid high temperatures.Allow for sufficient heat dispersion wheni
20ENGLISHDigital input setupInput the type of components connected to the digital input terminals.1Use the (left) and (right) buttons to set the typ
21ENGLISH11REMOTE CONTROL UNITNOTE:• The memory can only be preset for either the MD or the CDR.Preset codes set upon shipment from the factory and wh
22ENGLISHPreset memory (Video component)DENON and other makes of components can be operated by setting the preset memory for your make of video compon
23ENGLISHOperating a video component stored in the preset memory1Set the slide switch to “VIDEO”.AUDIOCDMD/CDRVIDEO2Operate the video component.• For
24ENGLISH12OPERATIONBefore operatingPreparations:Check that all connections are proper.1Turn on the power.Press the ON/STANDBY button on the main unit
25ENGLISHPlaying the input sourceB2 31 51Press the button for the program source to be played.EX 1: CDCD1(Main unit) (Remote control unit)2Select the
26ENGLISH• To increase the bass or treble: Pressthe SELECT UP button. (The bass ortreble sound can be increased to upto +10 dB in steps of 2 dB.)• To
27ENGLISHUsing the dimmer function• Use this to change the brightness of thedisplay.The display brightness changes in foursteps (bright, medium, dim a
28ENGLISHSet the external input (EXT.IN) mode.Press the EXT. IN to switchthe external input.Once this is selected, the input signals connected to the
29ENGLISH13SURROUNDBefore playing with the surround function• Before playing with the surround function, be sure to use the test tones to adjust the p
3SAFETY INSTRUCTIONS1. Read Instructions – All the safety and operatinginstructions should be read before the appliance isoperated.2. Retain Instructi
30ENGLISHDolby Surround Pro Logic IImode2Select the Dolby Surround Pro Logic II mode.SURROUNDMODELight(Main unit)(Remote control unit)3Play a program
31ENGLISHNOTE:• When making parameter settings, the display will return to theregular condition several seconds after the last button waspressed and t
32ENGLISHDolby Digital mode (only with digital input) and DTS Surround (only with digital input)1Select the input source.q Select an input source set
33ENGLISH6Use the (left) and (right) buttons to set the D. COMP. D.COMP. OFFOFF LOW MID HIGHPress the SELECT or (down) button to switch to the LFE
34ENGLISH14DSP SURROUND SIMULATION• This unit is equipped with a high performance DSP (Digital Signal Processor) which uses digital signal processing
35ENGLISHDSP surround simulation1Select the surround mode for the input channel.SURROUNDMODE(Remote control unit)The surround mode switches in the fol
36ENGLISHUse the (left) and (right) buttons to set the delay time. DELAY 30ms 110ms30ms0ms(left) button (right) button(Remote control unit)(3) DEL
37ENGLISH1Press the SELECT buttons to select the surround mode.(Main unit)• When press the UP button2Press the SURROUND PARAMETER button.Press and hol
38ENGLISHSurround parameters eROOM SIZE:This sets the size of the sound field.There are five settings: “small”, “med.s” (medium-small), “medium”, “med
39ENGLISH15LISTENING TO THE RADIOAuto preset memory1When the main unit’s power operation switch turn on whilepressing the set’s MEMORY button the unit
4ENGLISH2 INTRODUCTION2 ACCESSORIESThank you for choosing the DENON A/V Surround receiver. This remarkable component has been engineered to provide su
Press the TUNING UP or DOWN button to tune in the desiredstation. The frequency changes continuously when the button is heldin.40ENGLISHAuto tuning1Se
41ENGLISHPreset stations1Press the MEMORY button.2Press the SHIFT button and select the desired memory block(A to E).SHIFT(Main unit) (Remote control
42ENGLISH16LAST FUNCTION MEMORY• This unit is equipped with a last function memory which stores the input and output setting conditions as they were i
43ENGLISH18ADDITIONAL INFORMATION• Set the front speakers, center speaker and subwoofer in thesame positions as in example (1).• Set the surround spea
44ENGLISH2 Dolby Digital and Dolby Pro LogicComparison of home surround systemsNo. recorded channels (elements)No. playback channelsPlayback channels
45ENGLISHDTS Digital SurroundDigital Theater Surround (also called simply DTS) is a multi-channel digital signal format developed by Digital Theater S
46ENGLISH19TROUBLESHOOTING If a problem should arise,first check the following.1. Are the connections correct ?2. Have you operated the receiver accor
47ENGLISH20SPECIFICATIONS 2 Audio section• Power amplifierRated output: Front: 70 W + 70 W (8 Ω/ohms, 20 Hz ~ 20 kHz with 0.08% T.H.D.)100 W + 100 W
48FRANCAIS2 INTRODUCTION2 ACCESSOIRESNous vous remercions d‘avoir choisi l’ampli-tuner A/V Surround de DENON.Ce remarquable composant a été fabriqué p
49FRANCAIS3PRECAUTIONS DE MANIPULATION4CARACTERISTIQUES• Commutation de la fonction d’entrée lorsque les prisesd’entrée ne sont pas connectéesUn décli
5ENGLISH3CAUTIONS ON HANDLING4FEATURES• Switching the input function when input jacks are notconnectedA clicking noise may be produced if the input fu
50FRANCAIS5NOMENCLATURE ET FONCTIONSPanneau avant• Pour les détails sur les fonctions de ces pièces, se reporter aux pages données entre parenthèses (
51FRANCAISUnité de télécommande • Pour les détails sur les fonctions de ces pièces, se reporter aux pages données entre parenthèses ( ).BDVD/VDPCDTV/
52FRANCAIS6A LIRE EN PREMIERCe récepteur d’ambiance AV doit être réglé avant l’utilisation selon les étapes suivantes.7RÉGLAGE DES SYSTÈMES D’ENCEINTE
53FRANCAIS8CONNEXIONS• Ne pas brancher le cordon d’alimentation avant d’avoir terminétoutes les connexions.• Toujours connecter correctement les canau
54FRANCAISConnexion des composants vidéoPour connecter le signal vidéo, connecter en utilisant un câble de signal vidéo de 75 Ω/ohms. L’utilisation d’
55FRANCAISConnexion d’un composant vidéo équipé de prises vidéo S• Lors des connexions, se reporter également aux instructions d’utilisation des autre
56FRANCAIS1423Connexion des bornes d’antennesPRE OUTSUBWOOFERDVD/VDPDVD/VDPTV/DBSTV/DBSCDR/TAPECDR/TAPEVCRVCRVCRVCRMONITORININ INOUTOUT OUTCOAXIALOPTI
57FRANCAISConnexions du système d’enceintes• Connecter les bornes d’enceinte aux enceintes en respectant les polarités (<au <, > au >). Si
58FRANCAISCircuit de protection • Cet appareil est équipé d’un circuit de protection haute vitesse. Le but de ce circuit est de protéger les enceintes
59FRANCAIS9UTILISATION DE LA TÉLÉCOMMANDEEn suivant la procédure expliquée ci-dessous, insérer les piles avant d’utiliser la télécommande.Plage d’util
6ENGLISH5PART NAMES AND FUNCTIONSFront Panel• For details on the functions of these parts, refer to the pages given in parentheses ( ).Bq w te ury i!2
60FRANCAIS10INSTALLATION DU SYSTEME• Une fois que toutes les connexions avec les autres composants AV ont été faites comme indiqué dans “CONNEXIONS” (
61FRANCAISAppuyer sur la touche SELECT ou (bas) pour passer au réglage des haut-parleurs centraux.Avant de configurer le système12Appuyer sur la touc
62FRANCAISREMARQUE:• Lorsque l’option “Small” (petit) a été sélectionnée pour les haut-parleurs avants, l’option “Large” (grand) ne peut pas être séle
63FRANCAISReglage de la distance des haut-parleursEntrer les distances de la postion d’écoute aux enceintes, et régler le temps de retard d’ambiance.P
64FRANCAISConfiguration de l’entrée numériqueSélectionner le type d’appareil connecté aux bornes de l’entrée numérique.1Utiliser les touches (gauche)
65FRANCAISUtilisation des composants audio DENONLes composants audio télécommandables DENON peuvent être contrôlés en utilisant la télécommandede cet
66FRANCAISMémoire préréglée (Composants vidéo)DENON et d’autres fabricants de composants peuvent être actionnés en réglant la mémoire préréglée de vot
67FRANCAISUtilisation d’un composant vidéo sauvegardé dans la mémoire préréglée1Placer le commutateur coulissant sur la position “VIDEO”.AUDIOCDMD/CDR
68FRANCAIS12OPERATIONAvant l’utilisationPréparatifs:Vérifier que toutes les connexions sont bonnes.1Allumer l’alimentation.Appuyer sur la touche ON/S
69FRANCAISLecture de la source de programme analogiqueB2 31 51Appuyer sur la touche de la source de programme à reproduire.Exemple 1: CDCD1(Unité pri
7ENGLISHRemote control unit• For details on the functions of these parts, refer to the pages given in parentheses ( ).BDVD/VDPCDTV/DBSVCRSURROUNDMODET
70FRANCAIS(Unité de télécommande)• Pour augmenter les graves ou lesaiguës: Appuyer sur la toucheSELECT UP. (Le son de graves oud’aiguës peut être augm
71FRANCAISAffichage du panneau avant• Les descriptions defonctionnement del’appareil sont égalementaffichées sur l’affichagedu panneau avant. Deplus,
72FRANCAISPasser au mode d’entréeexterne (EXT. IN).Appuyer sur EXT. IN pourchanger l’entrée externe.Une fois cette sélection effectuée, les signaux d’
73FRANCAIS13AMBIANCEAvant la lecture utilisant la fonction d’ambiance• Avant d’effectuer une lecture avec la fonction d’ambiance sonore, s’assurer d’u
74FRANCAISMode Dolby Surround Pro Logic II2Sélectionner le mode Dolby Surround Pro Logic II.SURROUNDMODES’allume(Unité principale)(Unité de télécomman
75FRANCAISREMARQUE:• Pendant le réglage des paramètres, l’affichage va revenir à sonétat d’origine plusieurs secondes après que le dernier bouton aité
76FRANCAISMode Dolby Digital (uniquement avec entrée numérique) et le mode d’ambiance DTS (uniquement avec entrée numérique)1Sélectionner la source d’
77FRANCAIS6Utiliser les touches (gauche) et (droit) pour régler la compression de la gamme dynamique (D.COMP). D.COMP. OFFOFF LOW MID HIGHAppuyer s
78FRANCAIS14SIMULATION D’AMBIANCE DSP• Ce appareil est équipé d’un DSP (processeur numérique de signal) de haute précision qui utilise le traitement d
79FRANCAISSimulation d’ambiance DSP1Sélectionner le mode d’ambiance pour le canal d’entrée.SURROUNDMODE(Unité de télécommande)Le mode d’ambiance commu
8ENGLISH6READ THIS FIRSTThis AV Surround Receiver must be setup before use. Following these steps.2 Speaker system layoutBasic system layout• The foll
80FRANCAISREMARQUE:• Pendant le réglage des paramètres, l’affichage va revenir à son état d’origine plusieurs secondes après que le dernier bouton ait
81FRANCAIS1Appuyer sur la touche SELECT pour sélectionner le modesurround.(Unité principale)• Quand c’est terminé, appuyer sur la touche UP2Appuyer su
82FRANCAISParamètres d’ambiance eROOM SIZE (Taille de piece):Ceci règle la taille du champ sonore.Il y a cinq réglages: “small” (petit), “med.s” (moye
83FRANCAIS15ECOUTER DE LA RADIOMémoire préréglée automatique1Lorsque l’ interrupteur d’alimentation de l’appareil principalest activé en même temps qu
84FRANCAISAppuyer sur la touche TUNING UP (augmentation desyntonisation) ou TUNING DOWN (diminution desyntonisation) pour syntoniser la station désiré
85FRANCAISStations préréglée1Appuyer sur la touche MEMORY (mémoire).2Appuyer sur la touche SHIFT, et sélectionner le bloc demémoire désiré (A à E).SHI
86FRANCAIS16MEMOIRE DE DERNIERE FONCTION• Cet appareil est équipé d’une mémoire de dernière fonction qui stocke les conditions des réglages d’entrée e
87FRANCAIS18INFORMATIONS SUPPLEMENTAIRES• Placer les enceintes avant, l’enceinte centrale et le subwooferaux mêmes positions que dans l’exemple (1).•
88FRANCAIS2 Dolby Digital et Dolby Pro LogicComparaison de systèmes d’ambiance domestiquesNbre. de canaux enregistrés (éléments)Nbre. de canaux de lec
89FRANCAISDTS Digital SurroundDigital Theater Surround (également appelé simplement DTS) est un format de signaux numériques de canaux multiples dével
9ENGLISH8CONNECTIONS• Do not plug in the power cord until all connections have beencompleted.• Be sure to connect the left and right channels properly
90FRANCAIS19DEPISTAGE DES PANNESSi un problème se produit, vérifier d’abord les points suivants:1. Les connexions sont-elles correctes ?2. L’ampli-tun
91FRANCAIS20SPECIFICATIONS2 Section audio• Amplificateur de puissancePuissance de sortie nominale: Avant: 70 W + 70 W (8 Ω/ohms, 20 Hz ~ 20 kHz avec
92LIST OF PRESET CODES / LISTE DE CODES PRÉRÉGLÉS DVDDenon *[11], 12Hitachi 14JVC 17Onkyo 13, 15, 16Panasonic 12, 18Philips 24Pioneer 19, 20, 21RCA 23
93Tatung 07, 09Teac 07, 09, 12Technics 04, 21Telefunken 54, 55Thorn 08, 11Toshiba 24, 41, 59Universum 11, 20, 54W. WHouse 11Wards 10, 11, 25, 42Yamaha
14-14, AKASAKA 4-CHOME, MINATO-KU, TOKYO 107-8011, JAPANTelephone: (03) 3584-8111Printed in China 511 3782 003
Related products and manuals for Receivers and Amplifiers Denon AVR-682
 (48 pages)
 (14 pages)
 (37 pages)
© 2020, manymanuals.com. All rights reserved. | 1.795 s |
 Manymanuals.com
 Manymanuals.de
 Manymanuals.fr
 Manymanuals.it
 Manymanuals.pl
 Manymanuals.cz
 Manymanuals.es
 Manymanuals-pt.com
Comments to this Manuals