Denon AVR-685 User Manual
Browse online or download User Manual for Receivers and Amplifiers Denon AVR-685. Denon AVR-685 User Manual
- Page / 75
- Table of contents
- TROUBLESHOOTING
- BOOKMARKS
- AVR-1705/685 1
- FRANCAIS 2
- SAFETY INSTRUCTIONS 3
- TABLE OF CONTENTS 4
- BEFORE USING 4
- CAUTIONS ON HANDLING 5
- CAUTIONS ON INSTALLATION 5
- FEATURES 6
- PART NAMES AND FUNCTIONS 7
- Remote control unit 8
- Step 3 (page 18 to 28) 9
- Step 2 (page 17) 9
- Step 1 (page 9 to 16) 9
- CONNECTIONS 10
- The Video Conversion Function 13
- Speaker system connections 15
- Protector circuit 16
- Note on speaker impedance 16
- USING THE REMOTE CONTROL UNIT 17
- SETTING UP THE SYSTEM 18
- 1 FRONT LARGE 19
- 2 CENTER SMALL 19
- *SYSTEM SET UP 19
- 5 S.WOOFER YES 20
- 4 S.BACK SMALL 20
- 3 SURR. SMALL 20
- 8 CENTER 12ft 21
- 6 FRONT L 12ft 21
- 7 FRONT R 12ft 21
- 11 S.BACK 10ft 22
- 10 SURR.R 10ft 22
- 12 SW 12ft 22
- 9 SURR.L 10ft 22
- 13SW MODE NORM 23
- 14CR.OVER 80Hz 23
- 15 T.TONE <YES 24
- T.TONE AUTO 24
- 16 COAX CD 26
- 17 OPT1 DVD 26
- 18 OPT2 TV 26
- 19 DVD AUTO 27
- 20 TV AUTO 27
- 21 VCR AUTO 27
- 22 AUTOSURR. ON 28
- 23 EXT.IN SW +15 28
- REMOTE CONTROL UNIT 29
- Preset memory 30
- 6,7 : Manual search 32
- 2 : Stop 32
- 3 : Pause 32
- OPERATION 34
- (Remote control unit) 35
- (Main unit) 35
- After starting playback 36
- Simultaneous recording 38
- SURROUND 39
- FL CNTR FR SR SB 40
- IIx) mode 41
- IIx Cinema or Music mode can 41
- IIx mode 41
- MODE cinema 43
- IIx and Pro Logic II Mode: 44
- OFFSET - 4dB 47
- DSP SURROUND SIMULATION 48
- DSP surround simulation 49
- Surround modes and parameters 52
- LISTENING TO THE RADIO 53
- LAST FUNCTION MEMORY 56
- ADDITIONAL INFORMATION 57
- Surround back speakers 58
- Speaker setting examples 59
- Surround 60
- DTS Digital Surround 61
- DTS-ES Extended Surround™ 62
- DTS 96/24 63
- TROUBLESHOOTING 64
- SPECIFICATIONS 65
- TABLE DES MATIERES 66
- AVANT L‘UTILISATION 66
- ENGLISH FRANCAIS 67
- ENGLISHFRANCAIS 68
- DBS (SATELLITE) 70
- Printed in China 511 4175 004 75
- Telephone: (03) 3837-5321 75
Summary of Contents
2We greatly appreciate your purchase of this unit.2To be sure you take maximum advantage of all thefeatures this unit has to offer, read these instru
108CONNECTIONS• Do not plug in the power cord until all connections have beencompleted.• Be sure to connect the left and right channels properly (left
11Connecting the video equipmentsTo connect the video signal, connect using a 75 Ω/ohms video signal cable cord. Using an improper cable can result i
12Connecting a video component equipped with S-video jacks• When marking connections, also refer to the operating instructions of the other components
13VIDEO OUTYCRCBCOMPONENTYCRCBVIDEO INCOMPONENTBConnecting the Video Component Equipped with Color Difference (Component - Y, PR/CR, PB/CB)Video Jacks
141423Connecting the antenna terminalsDIRECTION OF BROADCASTING STATIONAM LOOPANTENNA(An Accessory)FM ANTENNAGROUNDAM OUTDOORANTENNAFM INDOOR ANTENNA(
15Speaker system connections• Connect the speaker terminals with the speakers making sure thatlike polarities are matched (< with <, > with &
16Protector circuit• This unit is equipped with a high-speed protection circuit. The purpose of this circuit is to protect the speakers undercircumsta
179USING THE REMOTE CONTROL UNITFollowing the procedure outlined below, insert the batteries before using the remote control unit.Range of operation o
1810SETTING UP THE SYSTEM• Once all connections with other AV components have been completed as described in “CONNECTIONS” (see pages 10 to 16), make
19Before setting up the system34Press the SYSTEM SETUP button to enter the setting.Turn on the power.Press the Power ON/STANDBY switch (button).5Press
2ENGLISH2 SAFETY PRECAUTIONS2 NOTE ON USE / OBSERVATIONS RELATIVES A L’UTILISATION•Avoid high temperatures.Allow for sufficient heat dispersion whenin
205Use the (left) and (right) buttons to select your subwoofer setting.5 S.WOOFER YESYESNO(left) button (right) buttonPress the ENTER or (down) bu
213Use the (left) and (right) buttons to set the distance from the center speaker to the listening position.8 CENTER 12ft• The number changes in u
226Use the (left) and (right) buttons to set the distance from the surround back speakers to the listeningposition.11 S.BACK 10ft• The number chang
23NOTES:— Assignment of low frequency signal range —• The signals produced from the subwoofer channel are LFE signals (during playback of Dolby Digita
24Setting the Test Tone• Use this setting to adjust to that the playback level between the different channel is equal.•From the listening position, li
256Use the (left) and (right) buttons to set the surround R channel level.AUTO-SR-12dB 0dB +12dBPress the (down) button to switch to the surround b
26NOTE:• TUNER, V. AUX cannot be selected.Setting the Digital In assignmentInput the type of components connected to the digital input terminals.1Use
27AUTO: When there are multiple input signals, the input signals are detected and the input signal to be output from the video monitor outputterminal
28After setting up the system1Press the SYSTEM SETUP button to finish system set up.This completes the system setup operations. Once the system is set
29Operating DENON audio components•Turn on the power of the different components before operating them.123Set mode switch 1 to “AUDIO”.Set mode switch
3SAFETY INSTRUCTIONS1. Read Instructions – All the safety and operating instructionsshould be read before the product is operated.2. Retain Instructio
30Preset memoryDENON and other makes of components can be operated by setting the preset memory.This remote control unit can be used to operate compon
31Operating component stored in the preset memory12Set mode switch 1 to “AUDIO” or “VIDEO”.Set mode switch 2 to the component you want to operate. 321
323. Video deck (VCR) systembuttons4. Digital broadcast satellite(DBS) tuner and cable(CABLE) system buttonsPOWER : Power on/standby(ON/SOURCE)6,7 : M
33Table 1Punch Through• “Punch Through” is a function allowing you to operate the PLAY, STOP, MANUAL SEARCH and AUTO SEARCH buttons on the CD, TAPE,CD
3412OPERATIONBefore operatingPreparations:Check that all connections are proper.2Turn on the power.Press the Power ON/STANDBY switch (button).3Select
35Playing the input source31 2 5Input mode selection functionDifferent input modes can be selected for the different input sources.The selected input
36•To increase the bass or treble: Turn the control clockwise.(The bass or treble sound can be increased to up to +12 dBin steps of 2 dB.)•To decrease
37Using the dimmer function• Use this to change the brightness of thedisplay.The display brightness changes in foursteps (bright, medium, dim and off)
38Set the external input (EXT.IN) mode.Press the EXT. IN to switchthe external input.Once this is selected, the input signals connected to the FL(fron
3913SURROUNDBefore playing with the surround function• Before playing with the surround function, be sure to use the test tones to adjust the playback
4ENGLISH2 INTRODUCTION2 ACCESSORIESThank you for choosing the DENON A/V Surround receiver. This remarkable component has been engineered to provide su
40• After adjusting using the test tones, adjust the channel levels either according to the playback sources or to suit your tastes, as (described)bel
41Dolby Pro Logic IIx (Pro Logic II) mode2Select the STANDARD (Dolby Pro Logic IIx) mode.Light(Main unit)(Remote control unit)3Play a program source w
427Set the various surround parameters.• CINEMA EQ settingON OFFor or CINEMA EQ OFF• PANORAMA settingON OFFor or PANORAMA OFF• DIMENSION setting0 3 6
43MODE CINEMASURROUND BACKDEFAULTMODE MUSICSURROUND BACKDEFAULTCINEMA EQ CENTER IMAGETONE DEFEAT TONE DEFEATor orMODE musicMODE cinema5Select the op
44Surround parameters qPro Logic IIx and Pro Logic II Mode:• The Cinema mode is for use with stereo television shows andall programs encoded in Dolby
45Dolby Digital mode (only with digital input) and DTS Surround (only with digital input)1Select the input source.q Select an input source set to digi
46ENGLISH5Set the surround parameter according to the source.NOTE:Please make sure the “AUDIO” position of the slide switch on the remote control unit
472 Dialogue NormalizationThe dialogue normalization function is activated automatically when playing Dolby Digital program sources.Dialogue normaliza
4814DSP SURROUND SIMULATION• This unit is equipped with a high performance DSP (Digital Signal Processor) which uses digital signal processing to synt
49ENGLISHDSP surround simulation1Select the surround mode for the input channel.(Remote control unit)The surround mode switches in the following order
5ENGLISH3CAUTIONS ON HANDLING• Switching the input function when input jacks are notconnectedA clicking noise may be produced if the input function is
50• SURROUND BACK SPEAKER settingON OFForor SB : ON• DEFAULT settingYES NOoror DEFAULT Y/N• TONE DEFEAT settingON OFForor TONE DEF. ONSelect “Yes
511Turn the SELECT knob to select the surround mode.(Main unit)• When turned clockwise2Press the SURROUND PARAMETER button.Press and hold in the surro
52CCEC *C *C *CECCCCCCC2 Surround modes and parametersChannel outputBBBBBBBBBBBBBBBSUBWOOFEREEBBBBBBBBBBBBESURROUND L/REEBBBBBBBBBBBBECENTERCCCCCCCCCC
5315LISTENING TO THE RADIOAuto preset memory1When the main unit’s power operation switch turn on whilepressing the set’s PRESET • (+) button the unit
54Press the TUNING • (+) or ª (–) button to tune in the desiredstation. The frequency changes continuously when the button is heldin.Auto tuning1Set t
55Preset stations1Press the MEMORY button.2Press the SHIFT button and select the desired memory block(A to G).(Main unit) (Remote control unit)3Press
5616LAST FUNCTION MEMORY• This unit is equipped with a last function memory which stores the input and output setting conditions as they were immediat
5718ADDITIONAL INFORMATIONOptimum surround sound for different sourcesThere are currently various types of multi-channel signals (signals or formats w
58Surround back speakersA 6.1-channel system is a conventional 5.1-channel system to which the “surround back” (SB) channel has been added. This make
59• Set the front speakers, center speaker and subwoofer in the samepositions as in example (1).• It is best to place the surround speakers directly a
6ENGLISH4FEATURES1. Dolby DigitalUsing advanced digital processing algorithms, Dolby Digitalprovides up to 5.1 channels of wide-range, high fidelity s
60SurroundThe AVR-1705/685 is equipped with a digital signal processing circuit that lets you play program sources in the surround mode to achieve the
61Manufactured under license from Dolby Laboratories.“Dolby”, “Pro Logic” and the double-D symbol are trademarks of Dolby Laboratories.ENGLISH(3) Dolb
62ENGLISHMANUFACTURED UNDER LICENSE FROM DIGITAL THEATER SYSTEMS, INC. U.S. PAT. NO’S. 5,451,942; 5,956,674; 5,974,380; 5,978,762; 6,226,616; 6,487,53
63ENGLISHDTS 96/24The sampling frequency, number of bits and number of channels used for recording of music, etc., in studios has been increasing in r
64ENGLISH19TROUBLESHOOTING If a problem should arise,first check the following.1. Are the connections correct ?2. Have you operated the receiver accor
65ENGLISH20SPECIFICATIONS 2 Audio section• Power amplifierRated output: Front: 75 W + 75 W (8 Ω/ohms, 20 Hz ~ 20 kHz with 0.08% T.H.D.)110 W + 110 W
662 INTRODUCTION2 ACCESSOIRESNous vous remercions d‘avoir choisi l’ampli-tuner A/V Surround de DENON.Ce remarquable composant a été fabriqué pour four
128LIST OF PRESET CODES / LISTE DE CODES PRÉRÉGLÉS DVDDenon 014, *[111]Aiwa 009Hitachi 010JVC 006, 011Konka 012, 013Magnavox 005Mitsubishi 004Panasoni
129Minolta 013, 023Mitsubishi 001, 003, 008, 013, 014, 017, 027,029, 039, 040, 041, 045, 097Motorola 081Montgomery Ward001, 002, 007, 009, 049, 063, 0
130Circuit City 003Citizen 029, 030, 031, 032, 034, 038, 047,049, 050, 054, 061, 095, 122, 123Concerto 031, 047, 049Colortyme 003, 047, 049, 135Contec
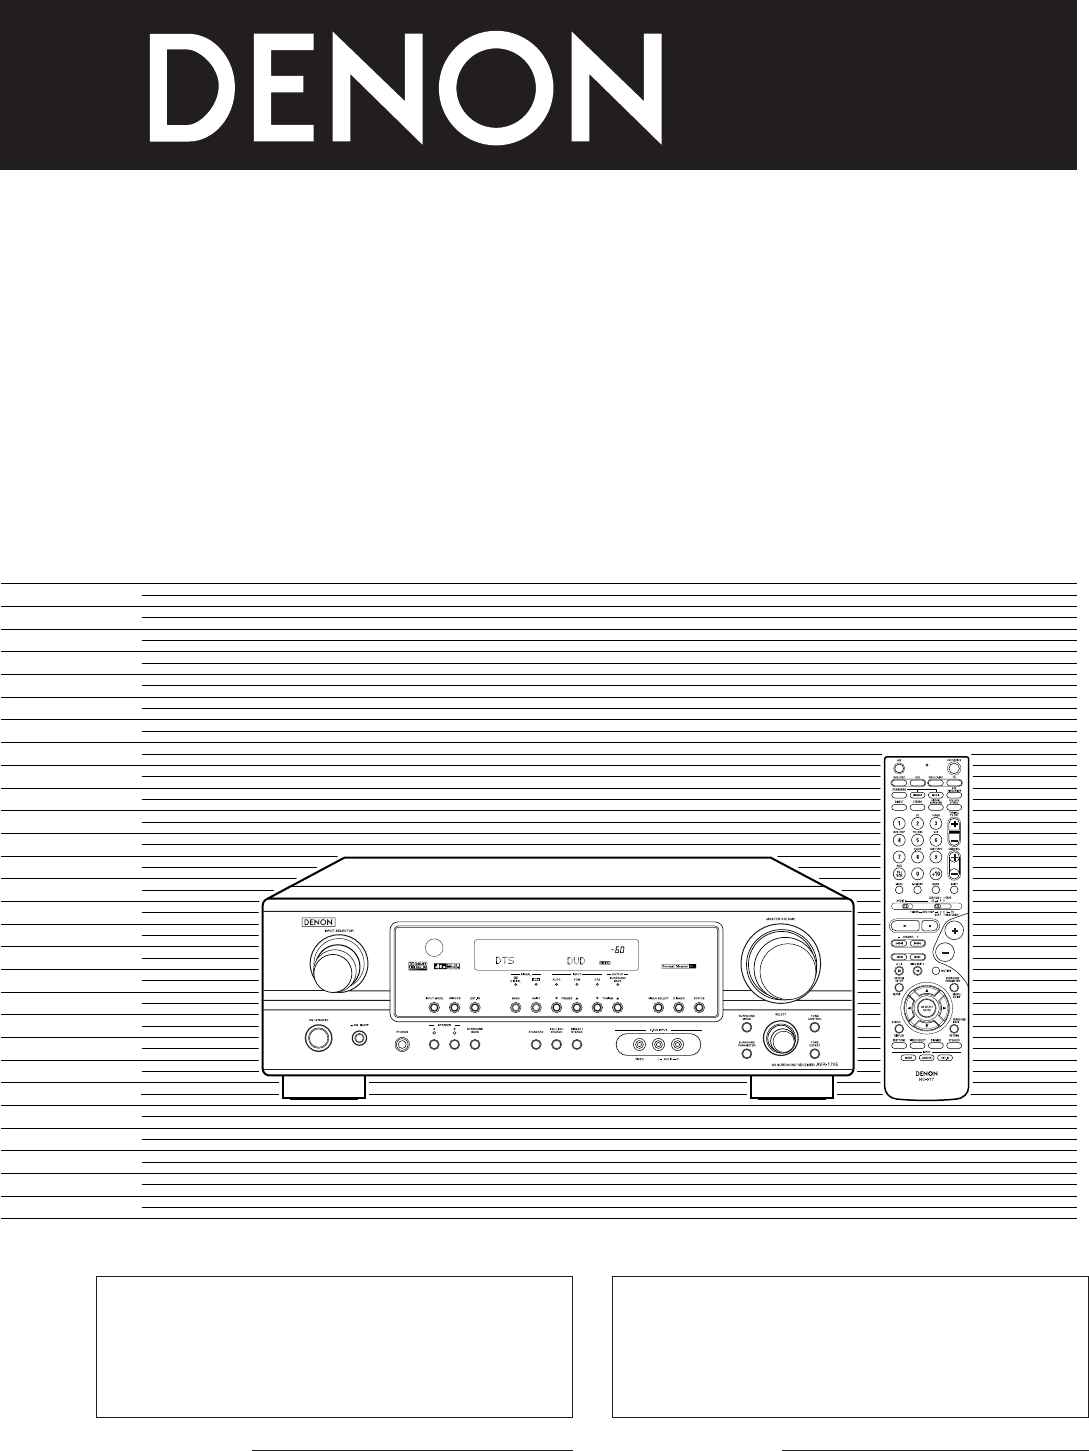
75PART NAMES AND FUNCTIONSFront Panel• For details on the functions of these parts, refer to the pages given in parentheses ( ).qwueiryo!4t!1@1@2@3@4
131Samsung 003, 015, 034, 053, 055, 057, 094,095, 136, 153Sansui 139Sanyo 013, 014, 021, 022, 063, 064, 081,096SBR 015Schneider 015Scott 062Sears 008,
132RCA 048, 055, 056, 068Realistic 042Sierra I 036Sierra II 036Sierra III 036Sony 049, 067STS1 043STS2 044STS3 045SRS4 046Technisat 077, 078, 079, 081
133MEMO:
134MEMO:
135MEMO:
Printed in China 511 4175 00416-11, YUSHIMA 3-CHOME, BUNKYO-KU, TOKYO 113-0034, JAPANTelephone: (03) 3837-5321
NOTE:• The shaded buttons do not function with the AVR-1705/685. (Nothing happens when they are pressed.)8Remote control unit• For details on the fun
96READ THIS FIRSTThis AV Surround Receiver must be setup before use. Following these steps.7SETTING UP THE SPEAKER SYSTEMSStep 3 (page 18 to 28)Finall
Related products and manuals for Receivers and Amplifiers Denon AVR-685
 (2 pages)
 (2 pages)
 (0 pages)
 (14 pages)
Xerox Drucker Benutzerhandbücher
Beginnend mit 8264e-16848


Comments to this Manuals