Denon DN-730R User Manual Page 7
- Page / 25
- Table of contents
- BOOKMARKS
- NIPPON COLUMBIA CO.. LTD 1
- _ ON--730R 2
- !'SPECIFICATIONSI 3
- [ _BLOcK DI_A_G_B_A_M_ 4
- '°I 5
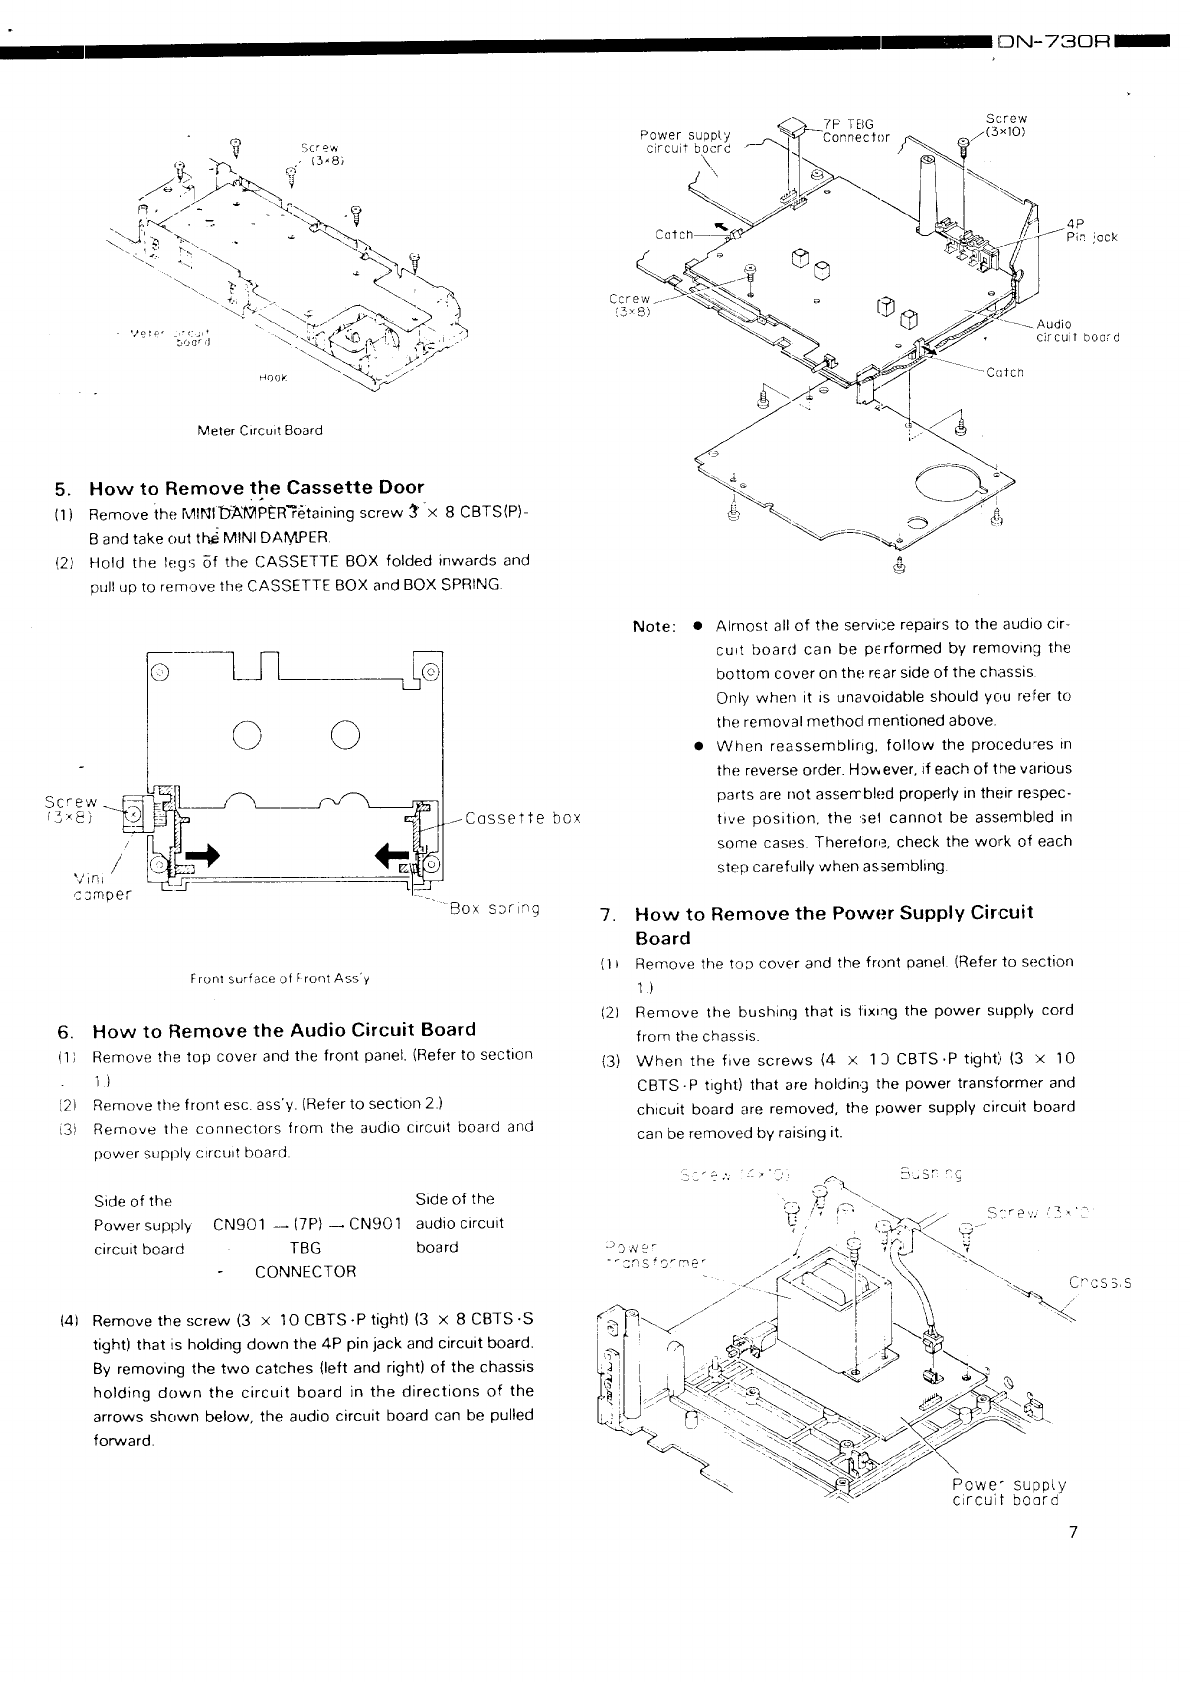
- I',3X 8] ) 7
- DN--730R 8
- -' _ _ !_J_! _ ! l_ 9
- EQUIPMENT FOR ADJUSTING 10
- AND CHECKING 10
- := , , ' 11
- [IF/50 V 12
- IDN-730R 13
- PARTS LIST OF EXPLODED VIEW 14
- DN-730R _ 15
- _DN-730R 16
- [ PACKING & ACCESSORIES _ 17
- _I ,°.°° 18
- I ON-73ORH 19
- FT: _ .... 20
- (_) / (') 21
- LWIRING DIAGRAM ; 22
- CASSETTE 22
- MECHANISM UNIT 22
- GU-2778-1 22
- GU-2778-4 22
- 0,00_ O,OOl 0,001 0,001 23
- DN-730RI 24
Related products and manuals for Cassette players Denon DN-730R
 (22 pages)
© 2020, manymanuals.com. All rights reserved. | 0.673 s |
 Manymanuals.com
 Manymanuals.de
 Manymanuals.fr
 Manymanuals.it
 Manymanuals.pl
 Manymanuals.cz
 Manymanuals.es
 Manymanuals-pt.com
Comments to this Manuals