Denon AVR 1909 - AV Receiver Owner's Manual Page 66
- Page / 92
- Table of contents
- TROUBLESHOOTING
- BOOKMARKS
- AVR-1909 1
- SAFETY INSTRUCTIONS 2
- ENGLISHFRANCAIS 3
- Accessories 5
- Cautions on Handling 6
- Cautions on Installation 6
- About the Remote Control Unit 6
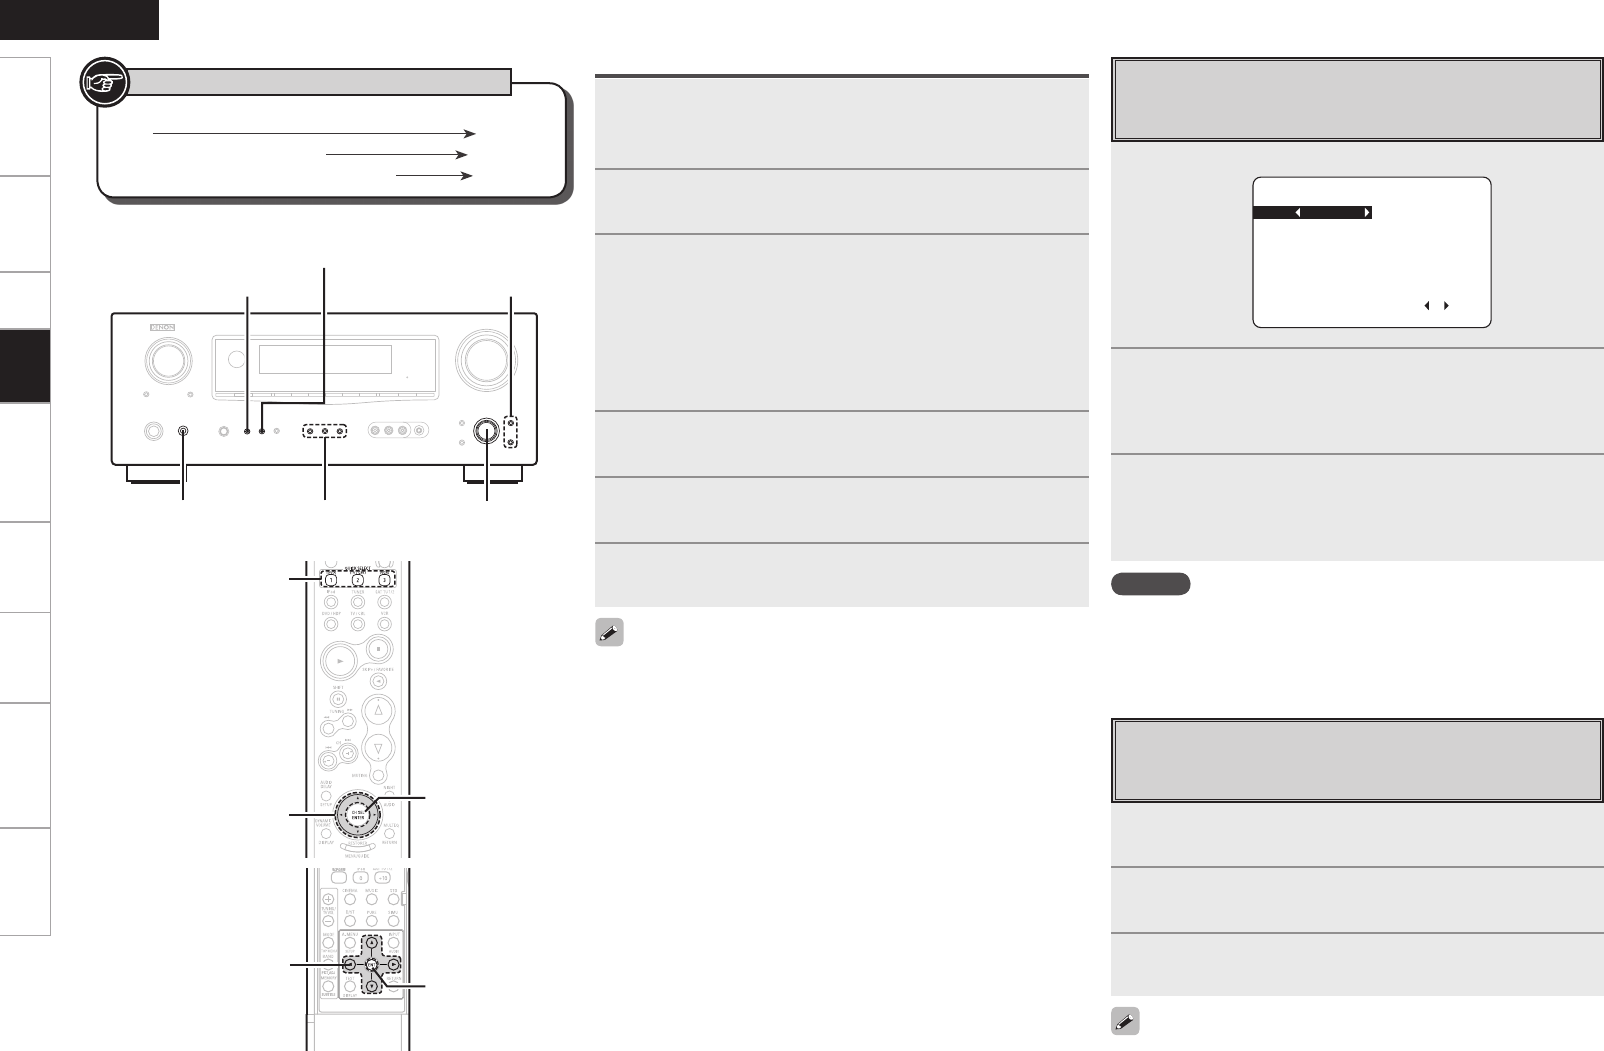
- Part Names and Functions 7
- Rear Panel 9
- Remote Control Unit 10
- Preparations 11
- Video Conversion Function 12
- Speaker Connections 13
- Specifications 14
- Connections 15
- Connecting the Monitor 16
- CD Player 17
- TV/CABLE Tuner 18
- Video Cassette Recorder 18
- Connections to Other Devices 19
- XM connector 20
- SIRIUS connector 21
- Antenna terminals 22
- Multi-zone 23
- External Controller 23
- Connecting the Power Cord 24
- Menu Operations 25
- Menu Map 27
- Auto Setup 28
- Step 2 : Measurement 30
- Step 3 : Calculation 30
- Step 4 : Check 30
- Error Messages 31
- Speaker Setup 32
- Test Tone 34
- Test Tone Start 34
- HDMI Setup 35
- Audio Setup 36
- ZONE2 Setup 37
- Option Setup 38
- Setup Lock 40
- Input Setup 41
- Resolution 43
- Progressive Mode 43
- Component In 45
- Digital In 45
- A1 Parental Lock 46
- A0 Antenna Aiming 46
- Surround Modes 47
- Direct Playback 48
- Stereo Playback 48
- Adjusting the parameters 49
- Surround Parameter 50
- Audyssey Settings 52
- S2 Dynamic EQ 53
- S3 Dynamic Volume 53
- RESTORER 54
- Night Mode 54
- Audio Delay 54
- Audio Input Signal 55
- HDMI Information 56
- Auto Surround Mode 56
- Preset Station 56
- Quick Select 56
- Listening to FM/AM Broadcasts 58
- Playing Video and Audio 58
- Equipment 58
- Programs 59
- S R 000 S i r iu s I D 61
- * * *** * * * * ** * 61
- Playback 62
- Listening to Music 63
- Other Operations 64
- Convenient Functions 65
- Fader Function 66
- Channel Level 66
- Playback 67
- Main Remote Control Unit 68
- (RC-1099) 68
- Remote Control 69
- Sub Remote Control Unit 71
- (RC-1107) 71
- Setting 1 : 72
- Setting 2 : 73
- Setting 3 : 73
- ZONE2 ZONE2 OUT Stereo 74
- Multi-zone Operations 75
- About Speaker Installation 76
- Surround 77
- Neural Surround 78
- Audyssey 78
- Surround Modes and Parameters 79
- MENU button on 84
- Troubleshooting 85
- TEST button is 86
- On-screen 87
- Television 90
- Satellite Receiver 91
Related products and manuals for Telephones Denon AVR 1909 - AV Receiver
 (81 pages)
 (161 pages)
© 2020, manymanuals.com. All rights reserved. | 0.401 s |
 Manymanuals.com
 Manymanuals.de
 Manymanuals.fr
 Manymanuals.it
 Manymanuals.pl
 Manymanuals.cz
 Manymanuals.es
 Manymanuals-pt.com
Comments to this Manuals